
For many people, if you want to illustrate your blog post with a screenshot or two, it's no big deal. You take these screenshots manually, make a few quick edits, integrate them in your post, make it live, and forget about it.
But what if you capture screenshots for a living? There are plenty of reasons that a C# developer might need to capture screenshots:
- Using screenshots of your application in automated UI testing workflows that run several times a day.
- Generating PDF documents with curated web content for your application's users.
- Generating PDF invoices from a URL.
- Monitoring websites for IP infringement and evidence collection.
In scenarios like these, taking screenshots manually just doesn't cut it. You need to integrate some sort of automation library or screenshot API.
When you start to explore available options, you'll quickly realize that most of the libraries that automate capturing screenshots require a certain level of JavaScript mastery. If you're a seasoned C# backend developer with limited JavaScript skills, chances are you don't want to maintain a Node.js application. Learning a new language is all well and good, but you've got schedules and deadlines. You would probably prefer a library that lets you get the job done while using C#, a programming language you're already comfortable writing in.
In this tutorial, you'll learn how to take screenshots in C# using different methods. You’ll learn how to create a C# project and set up an application that can be used to take screenshots of websites programmatically.
You can find the code used in this article in this GitHub repository.
Setting Up the Demo Project
For this tutorial, you'll be using the Visual Studio 2022 Community Version. If you don't already have it installed, you'll want to do that before going any further.
Open Visual Studio, then click on New Project, then select Console Application.
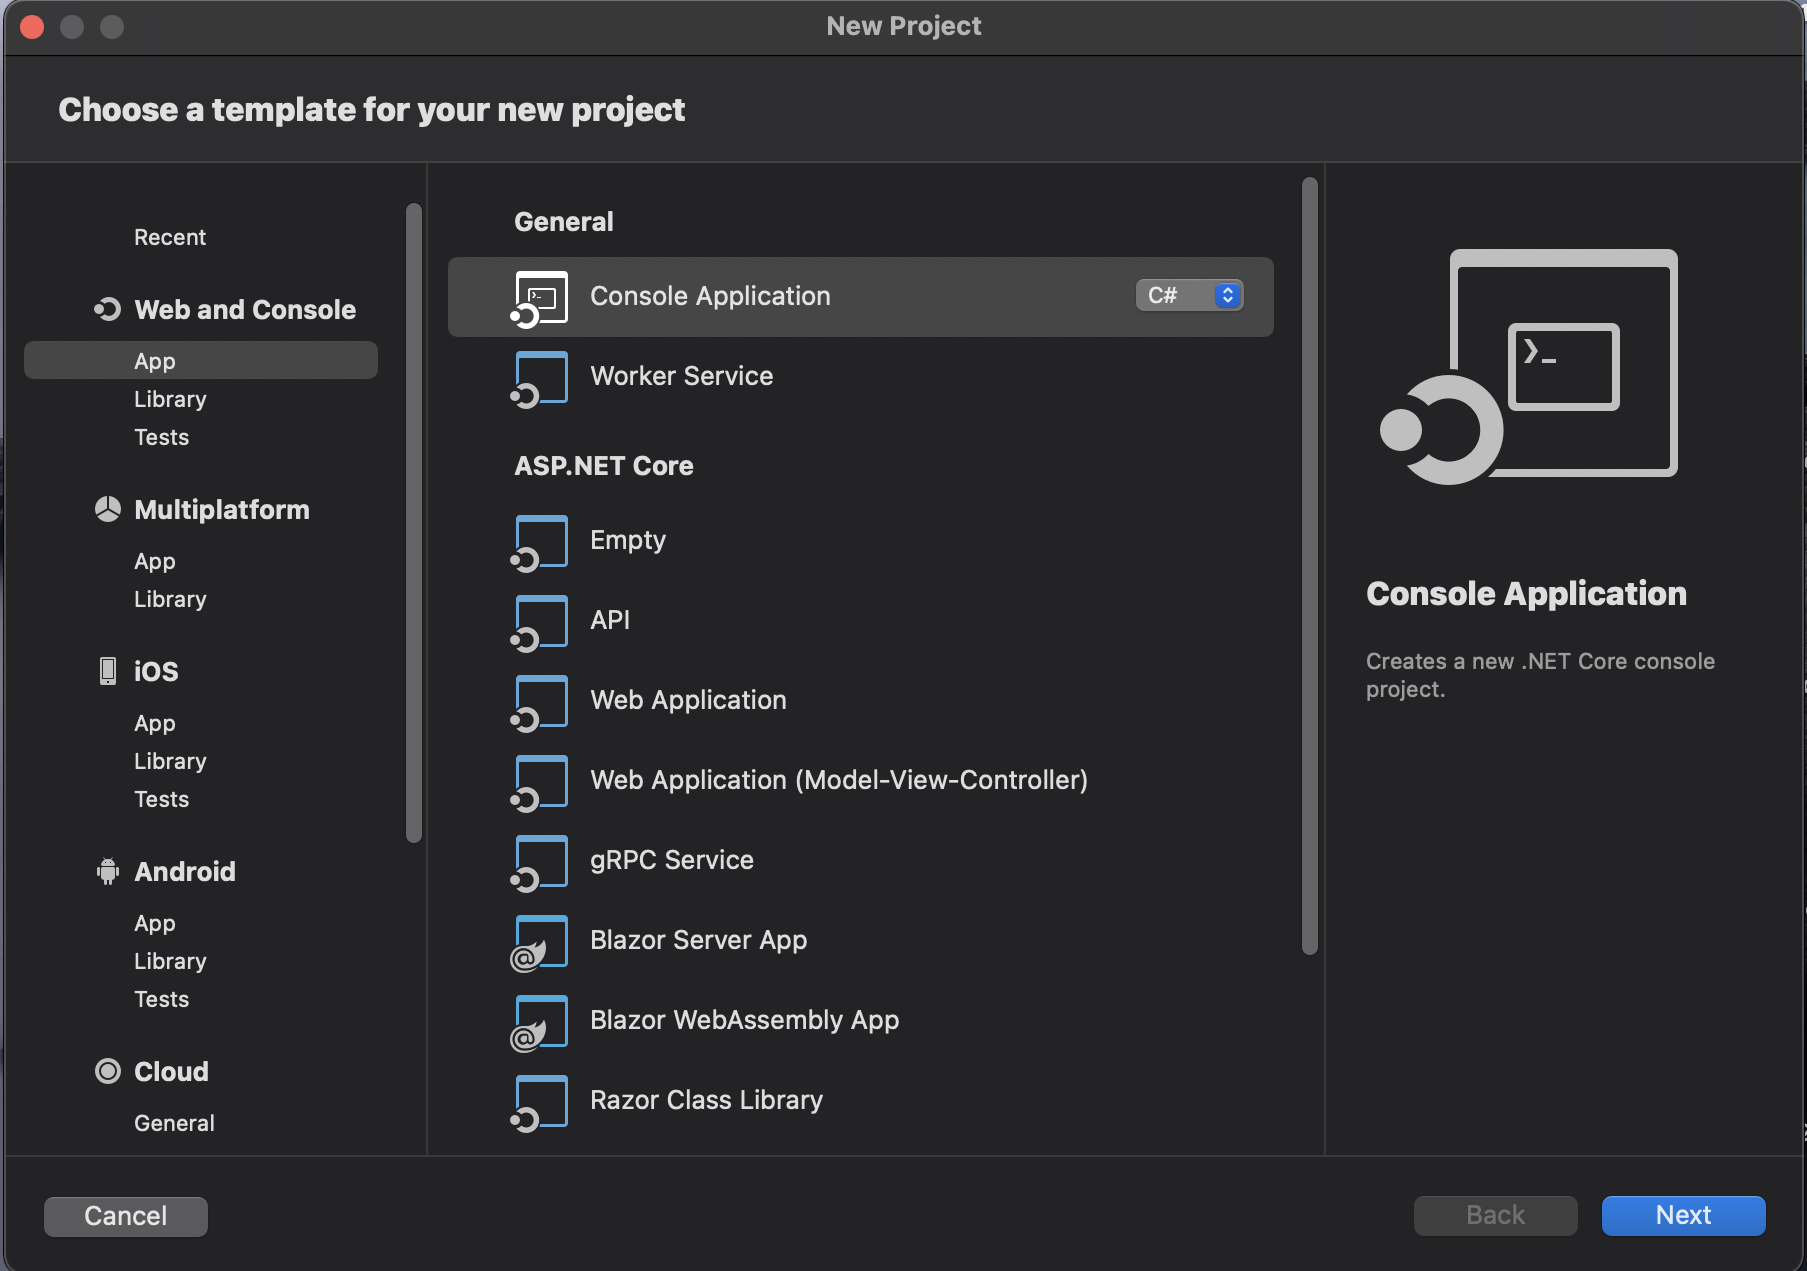 .
.
Next, On the “Target framework” select .Net 6.

Configure your console application by naming your application "urlCapturing", and select the directory where you want to save your project.
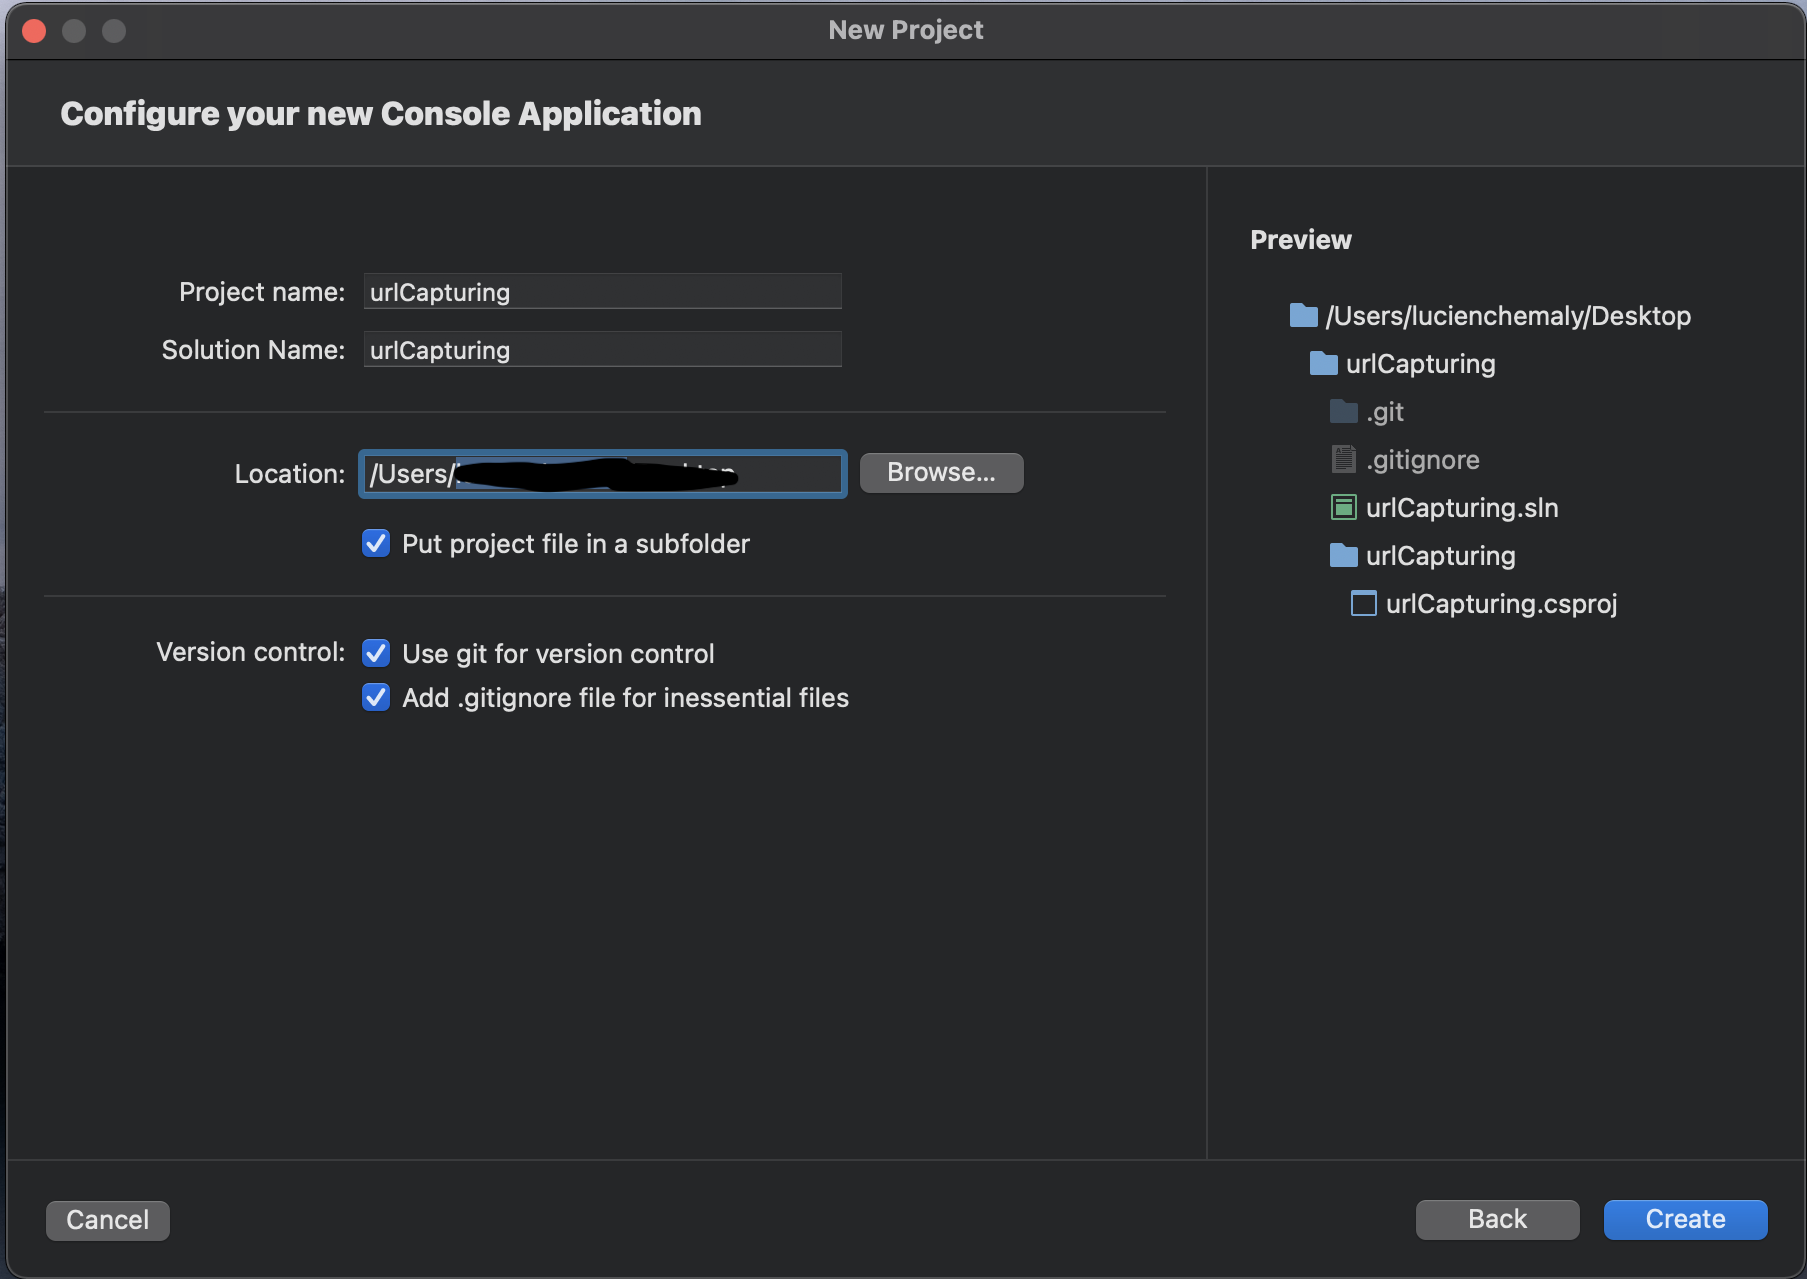
Click Create, and your project will be created with default presets.
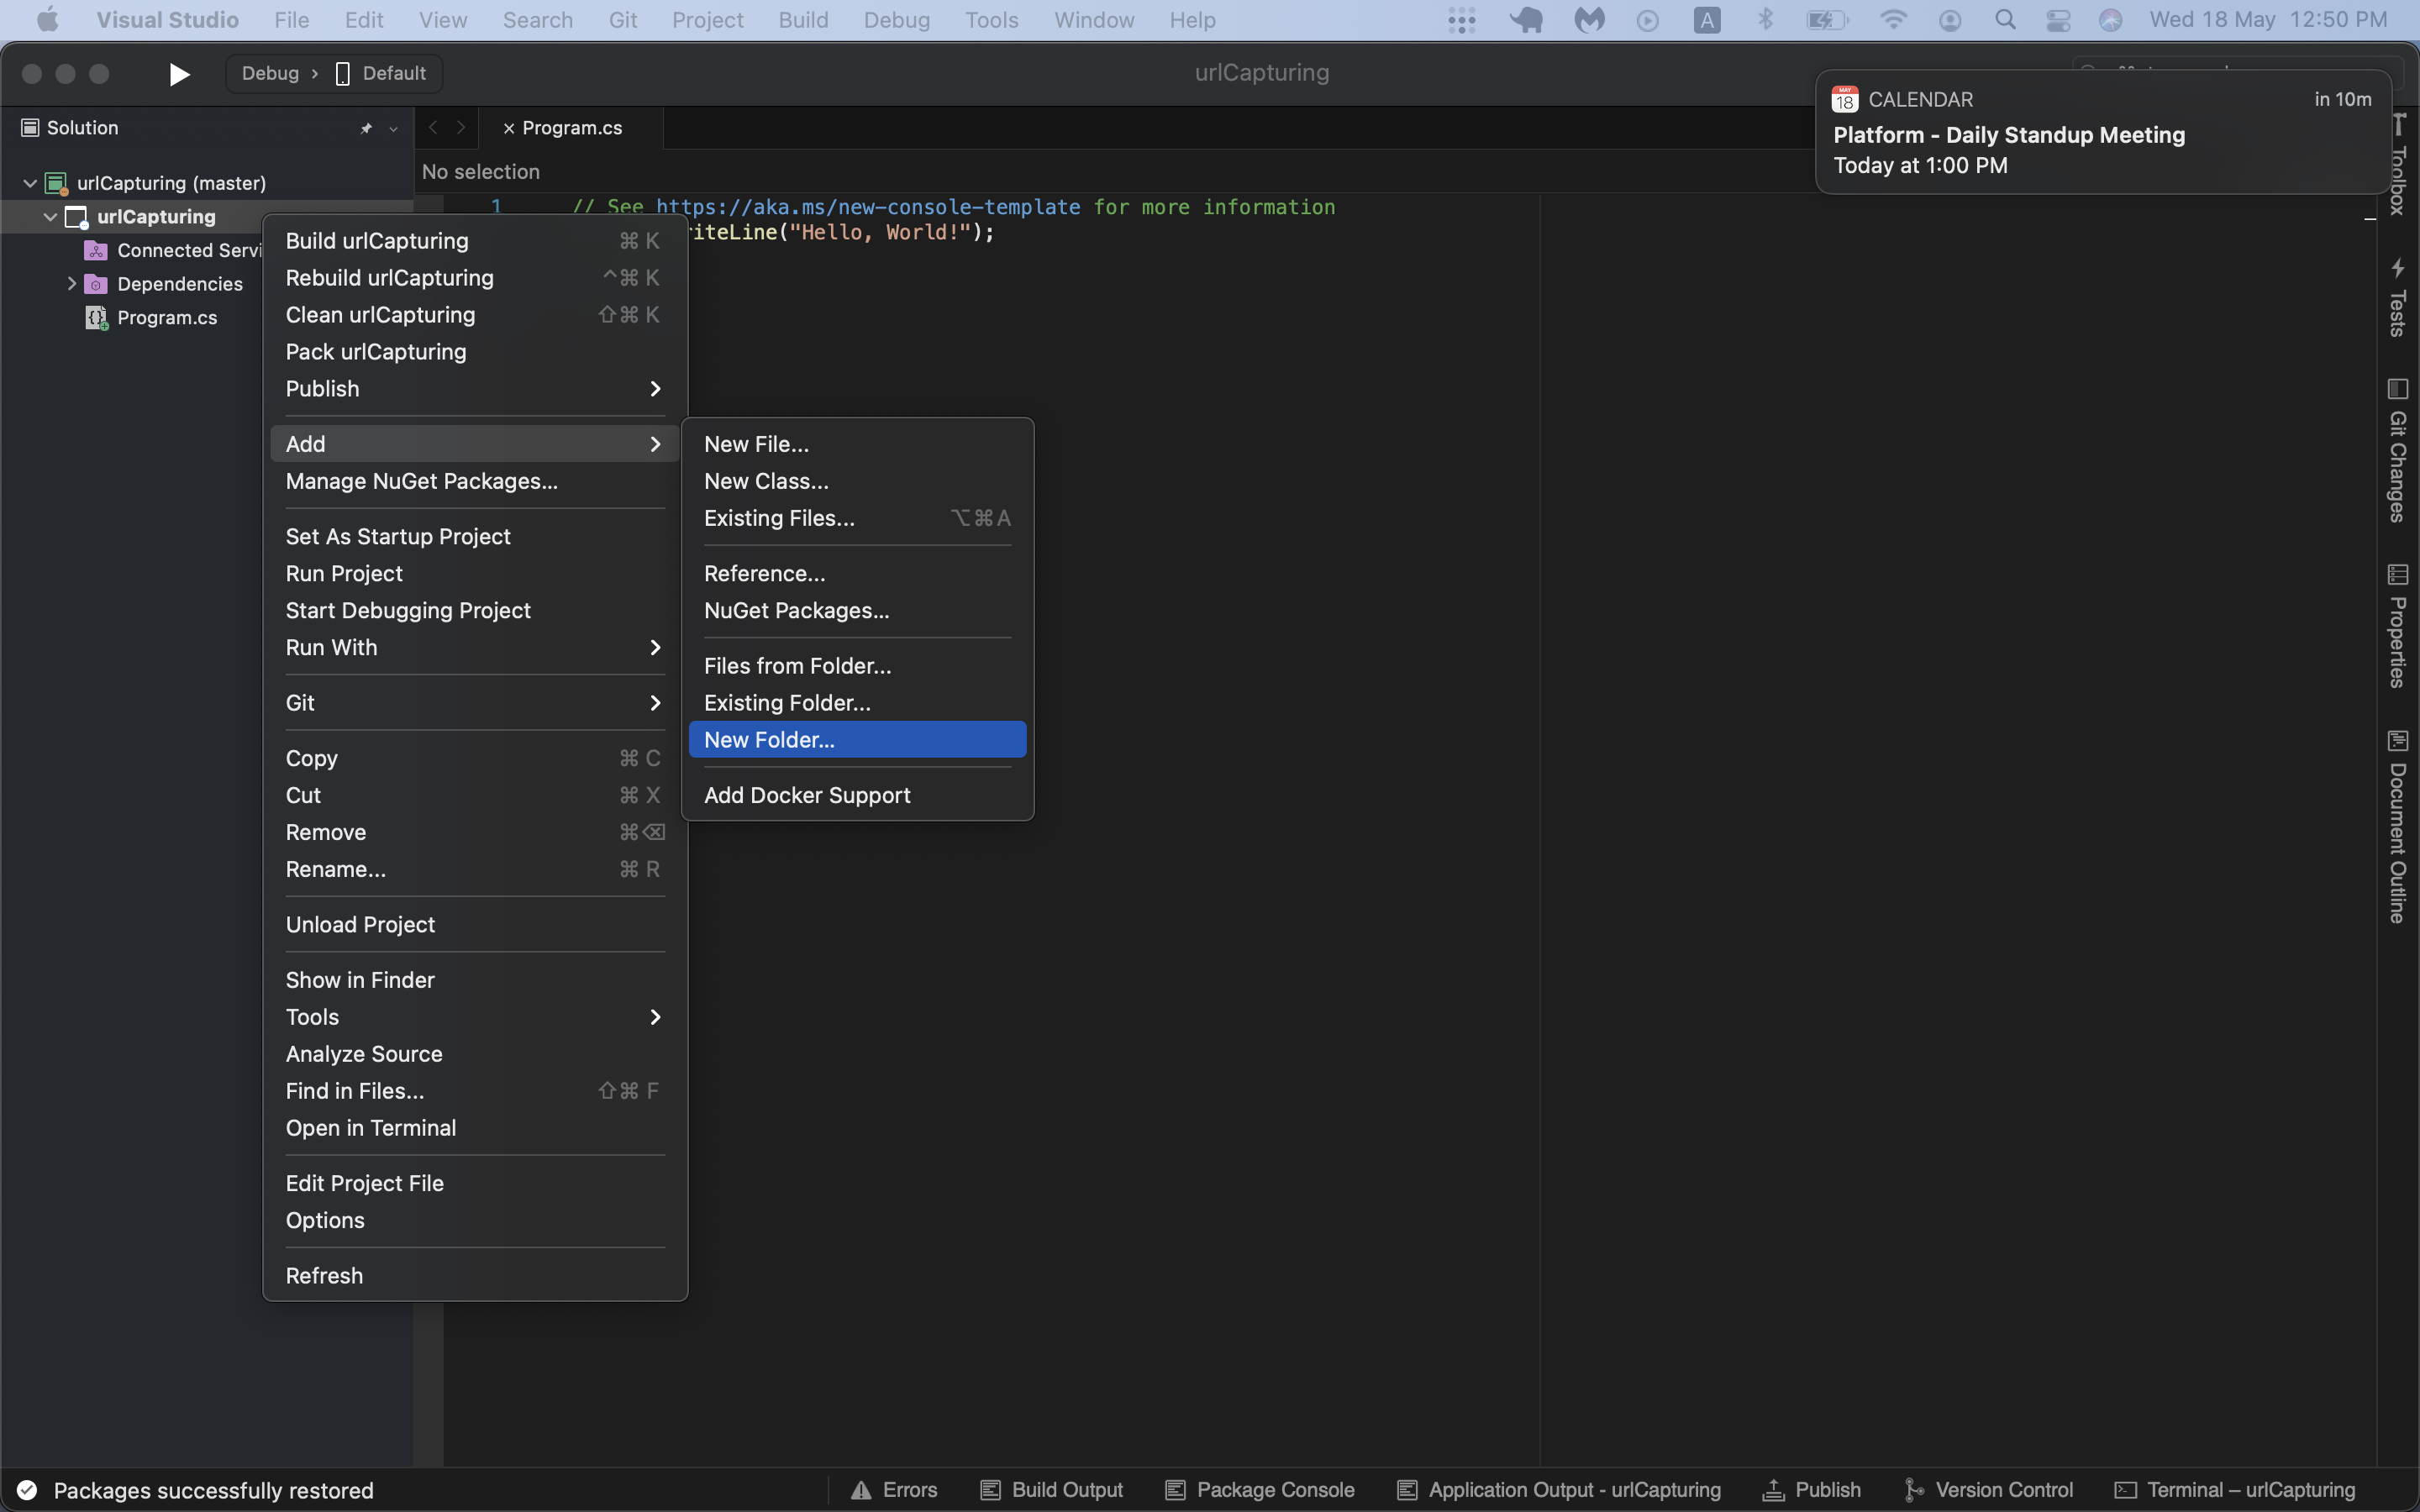
To create a new folder, right-click on the “urlCapturing” project, and then click Add, then New Folder. Name the folder “services”. You'll be putting all of your service classes for the different screenshot-capturing methods in this folder.
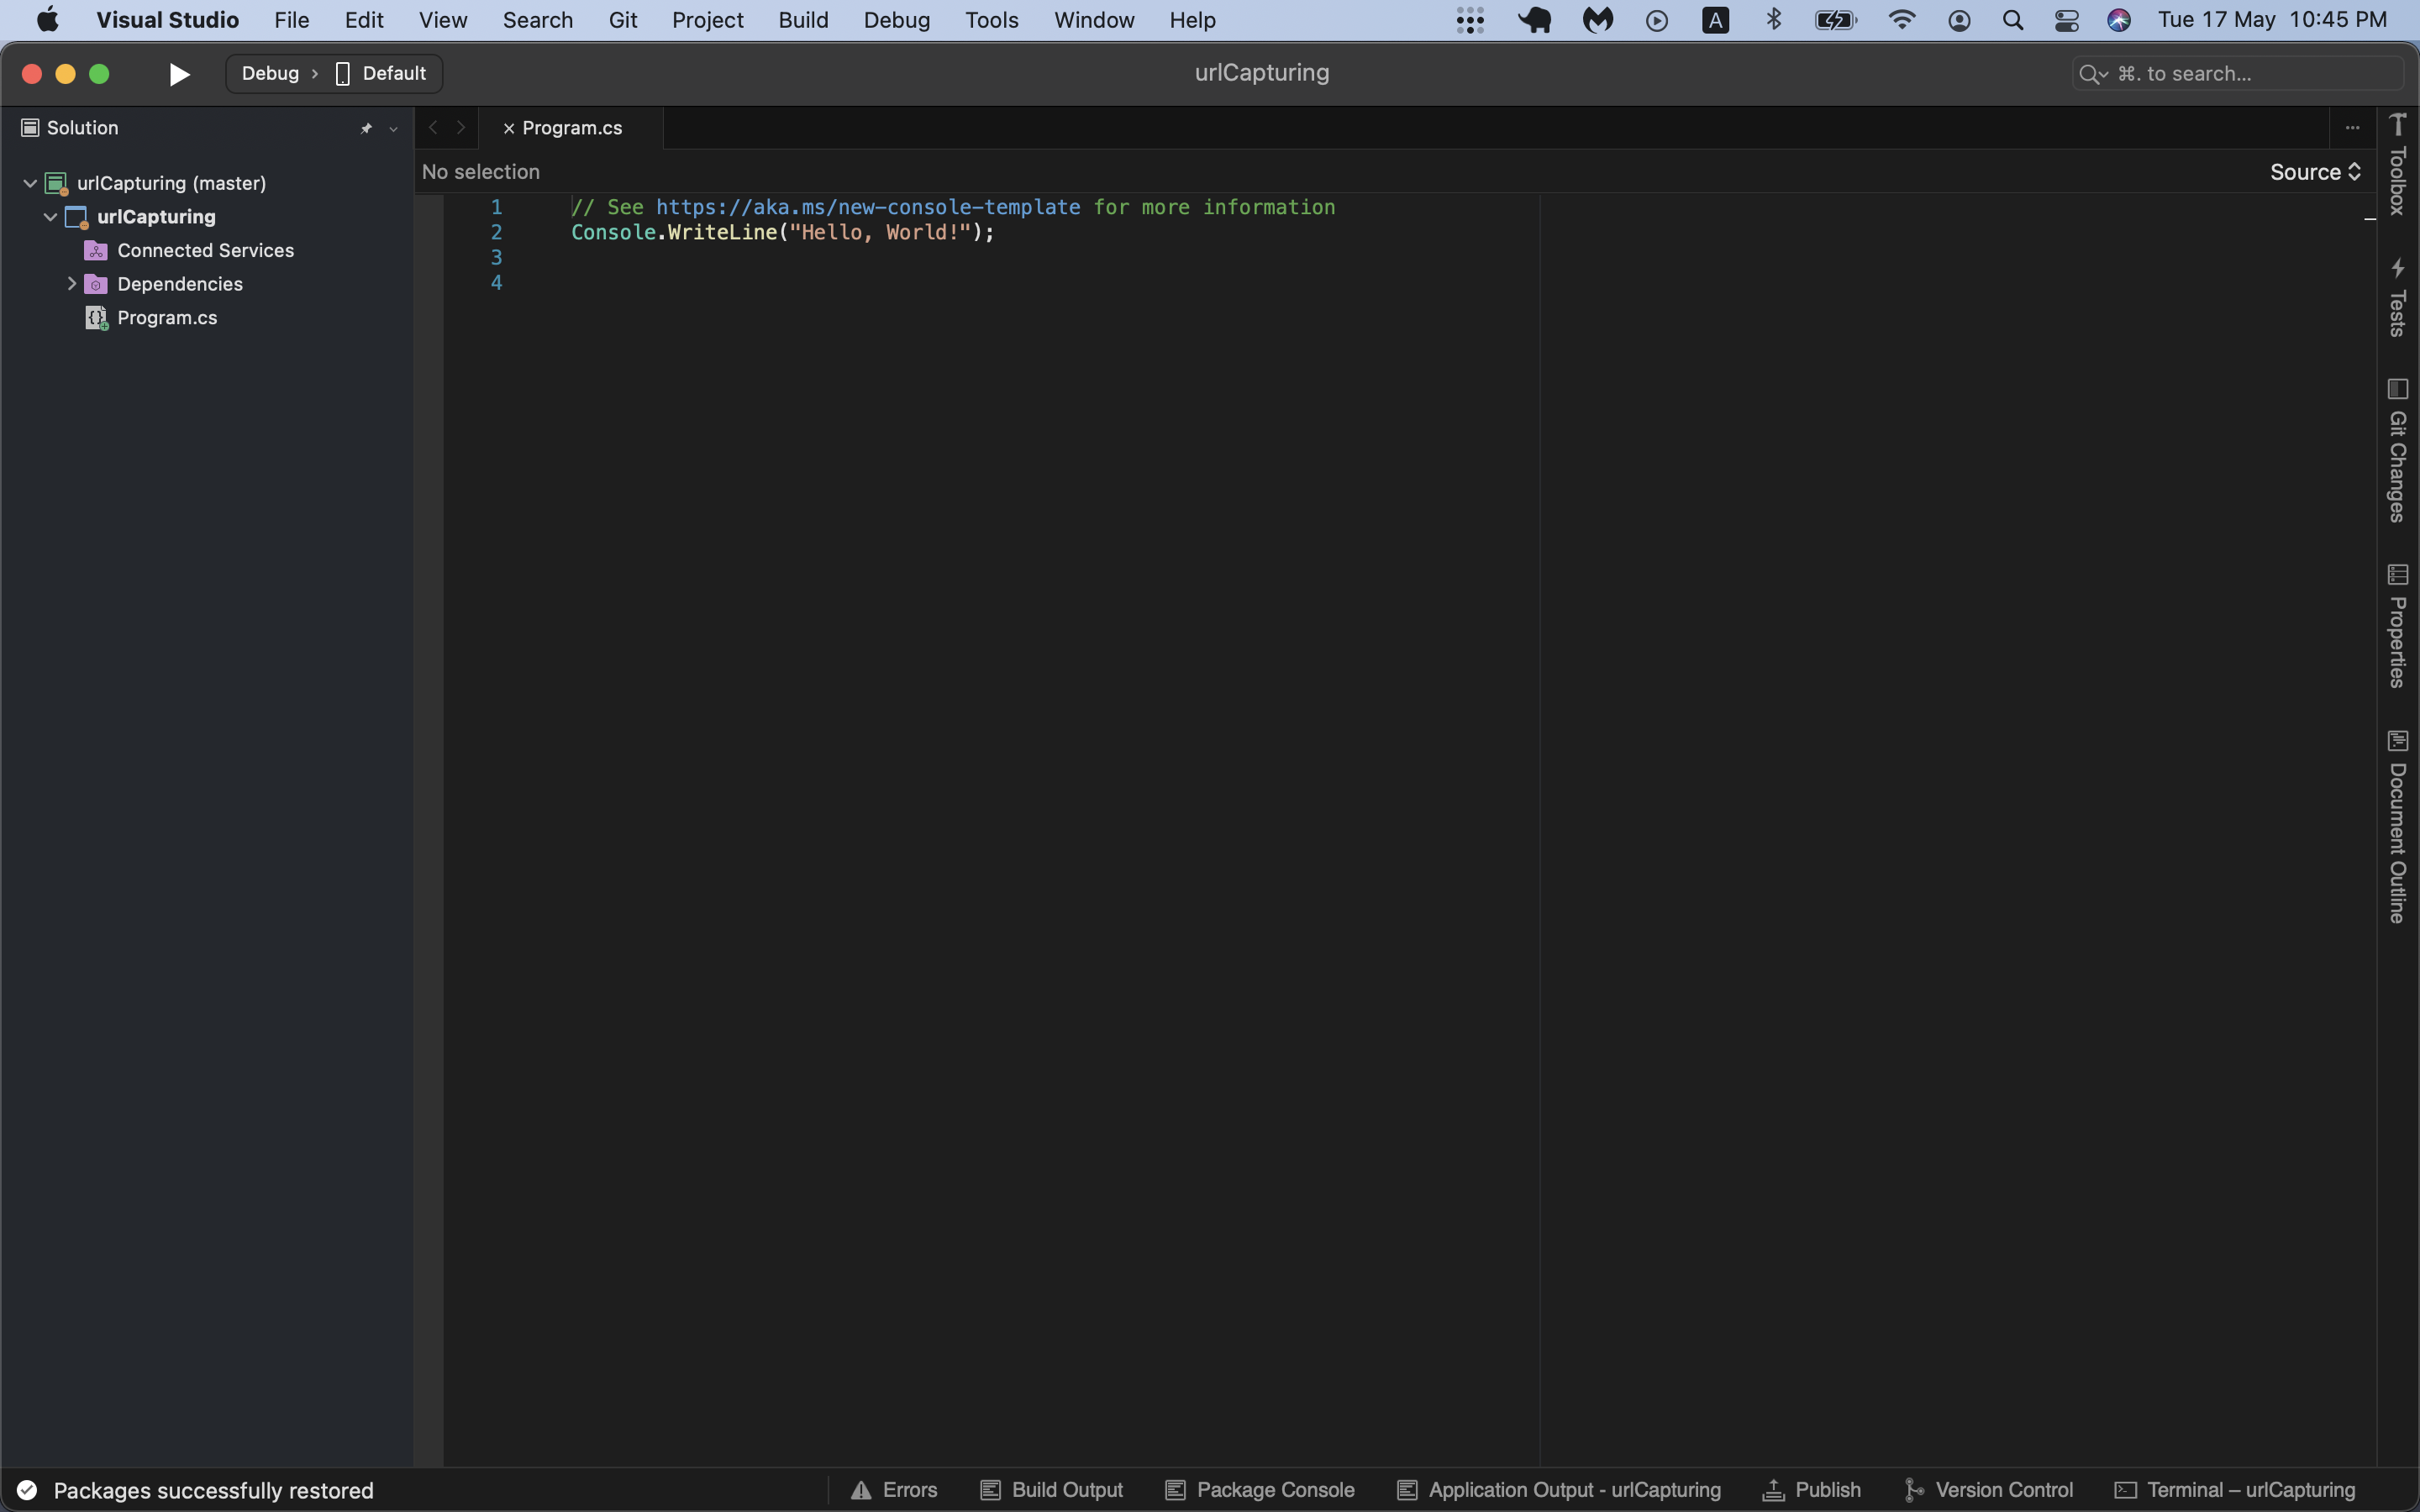
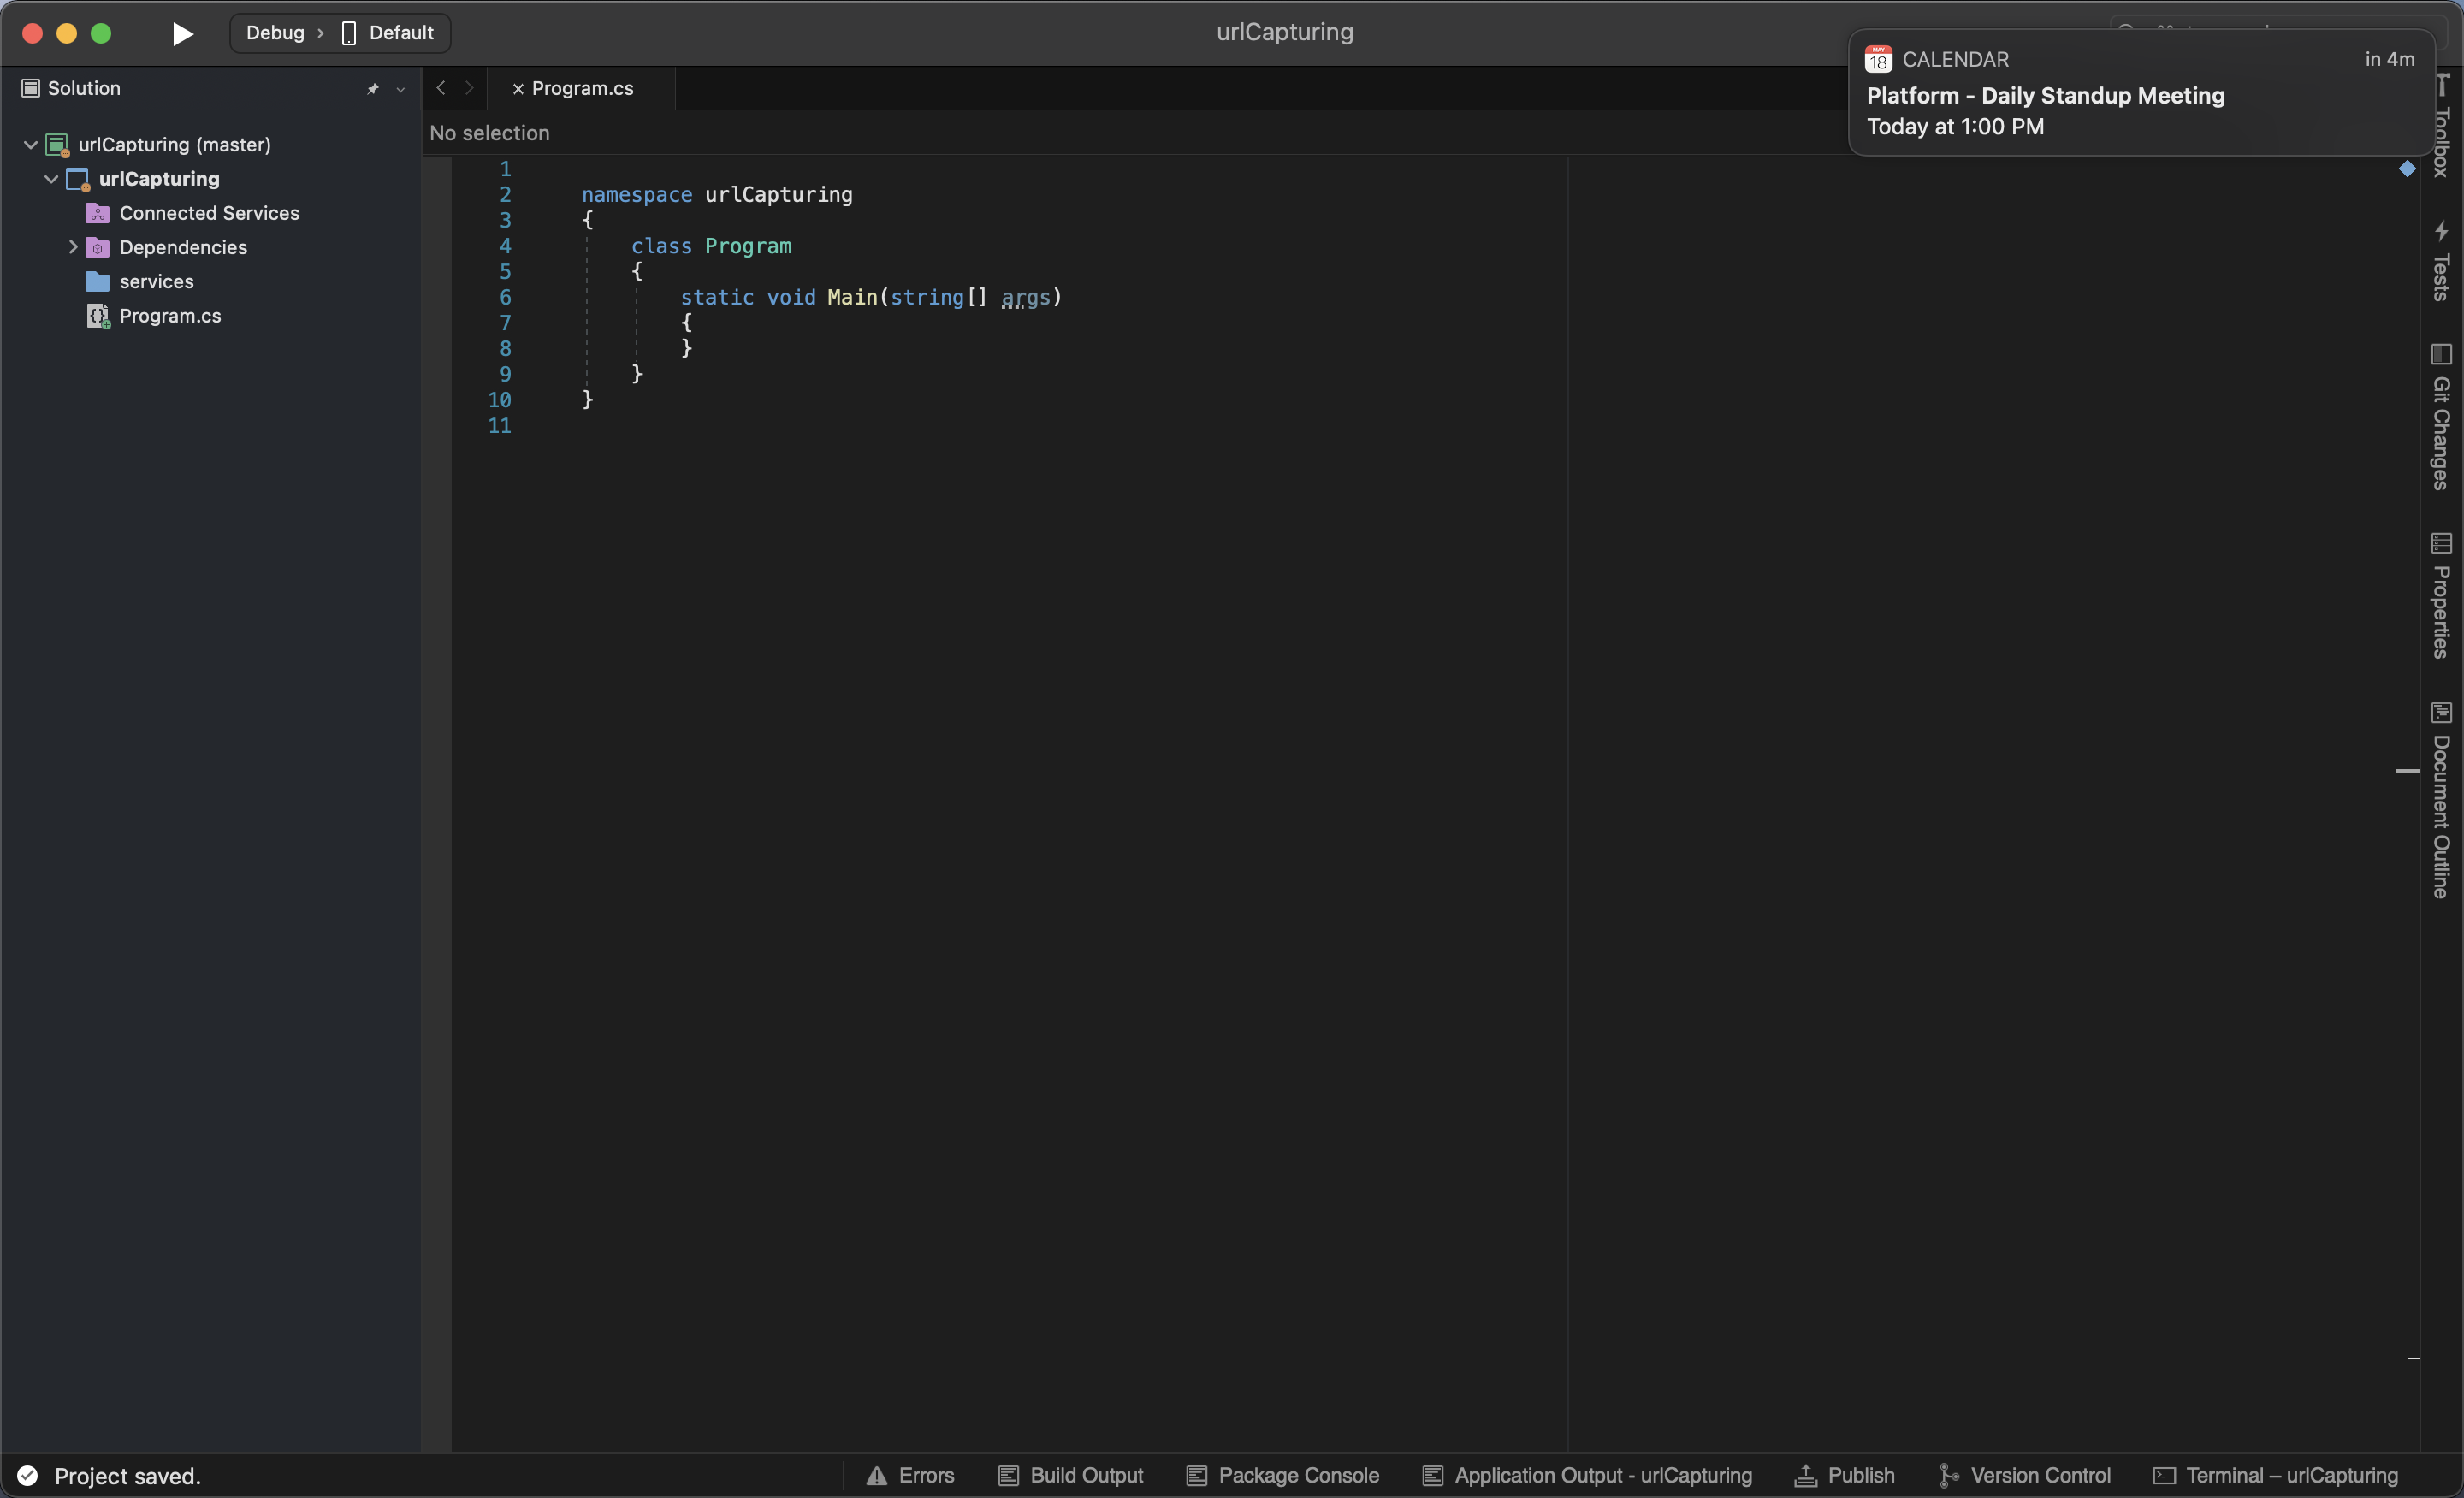
Go to Program.cs, delete all the content, and paste in the following default class:
namespace urlCapturing
{
    class Program
    {
        static void Main(string[] args)
        {
        }
    }
}
This completes the basic project setup, and you can move on to taking screenshots.
Taking a Screenshot Using Selenium With ChromeDriver
Selenium is an open source project for a range of tools. It helps you create robust, browser-based automation tests. It’s commonly used by quality assurance engineers, who write scripts for automating application tests rather than doing the work manually.
You'll be using Selenium with ChromeDriver to programmatically open a website URL in the browser, take a screenshot, then close the browser.
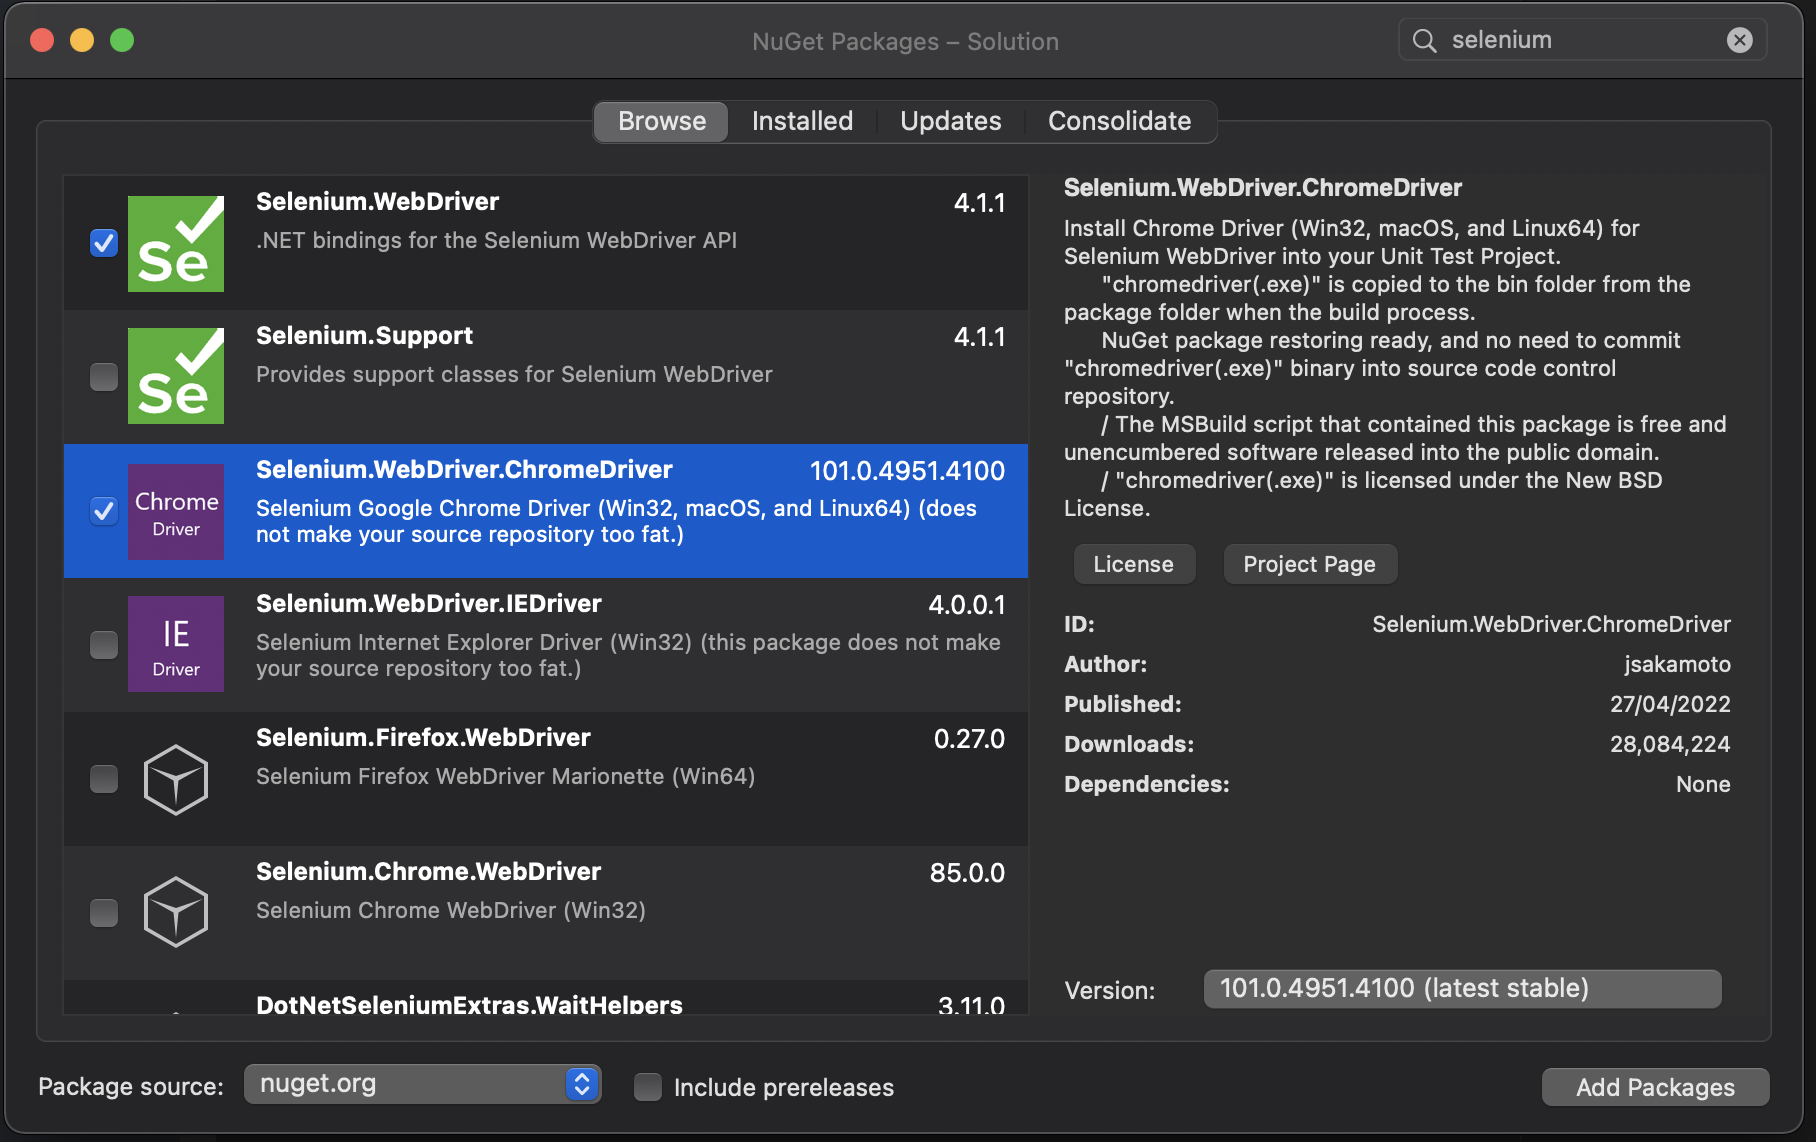
To start using Selenium, add the "Selenium.WebDriver" and "Selenium.WebDriver.ChromeDriver" NuGet packages to your project. To follow this tutorial, you'll also need to make sure you have the latest Chrome browser.
Next, create a new class called SeleniumService under the services folder, and add the following code:
using System;
using OpenQA.Selenium;
using OpenQA.Selenium.Chrome;

namespace urlCapturing.services
{
	public class SeleniumService
	{
        static IWebDriver driver;

        public void seleniumScreenShot()
		{
            driver = new ChromeDriver();
            var weburl = "https://bbc.com";
            driver.Navigate().GoToUrl(weburl);
            try
            {
                System.Threading.Thread.Sleep(4000);
                Screenshot TakeScreenshot = ((ITakesScreenshot)driver).GetScreenshot();
                string imagePath = "./../../../selenium-screenshot.png";
                TakeScreenshot.SaveAsFile(imagePath);
            }
            catch (Exception e)
            {
                Console.WriteLine(e.StackTrace);
            }
            driver.Quit();
        }
	}
}
The code above does the following :
- Initiates ChromeDriver, so you can use Chrome.
- Uses ChromeDriver to open the BBC's website on your machine.
- Pauses the program for four seconds to ensure that the website has loaded.
- Takes a screenshot of the targeted URL.
- Saves the screenshot under the project directory.
- Quits Chrome.
To run the Selenium Service, update the Program class as follows:
using urlCapturing.services;

namespace urlCapturing
{
    class Program
    {
        static void Main(string[] args)
        {
            // Taking screenshots with Selenium
            var seleniumShot = new SeleniumService();
            seleniumShot.seleniumScreenShot();
            //end
        }
    }
}
The code above does the following:
- Creates a new instance of SeleniumService.
- Calls the seleniumScreenShot() method, which is the function that takes a screenshot programmatically.
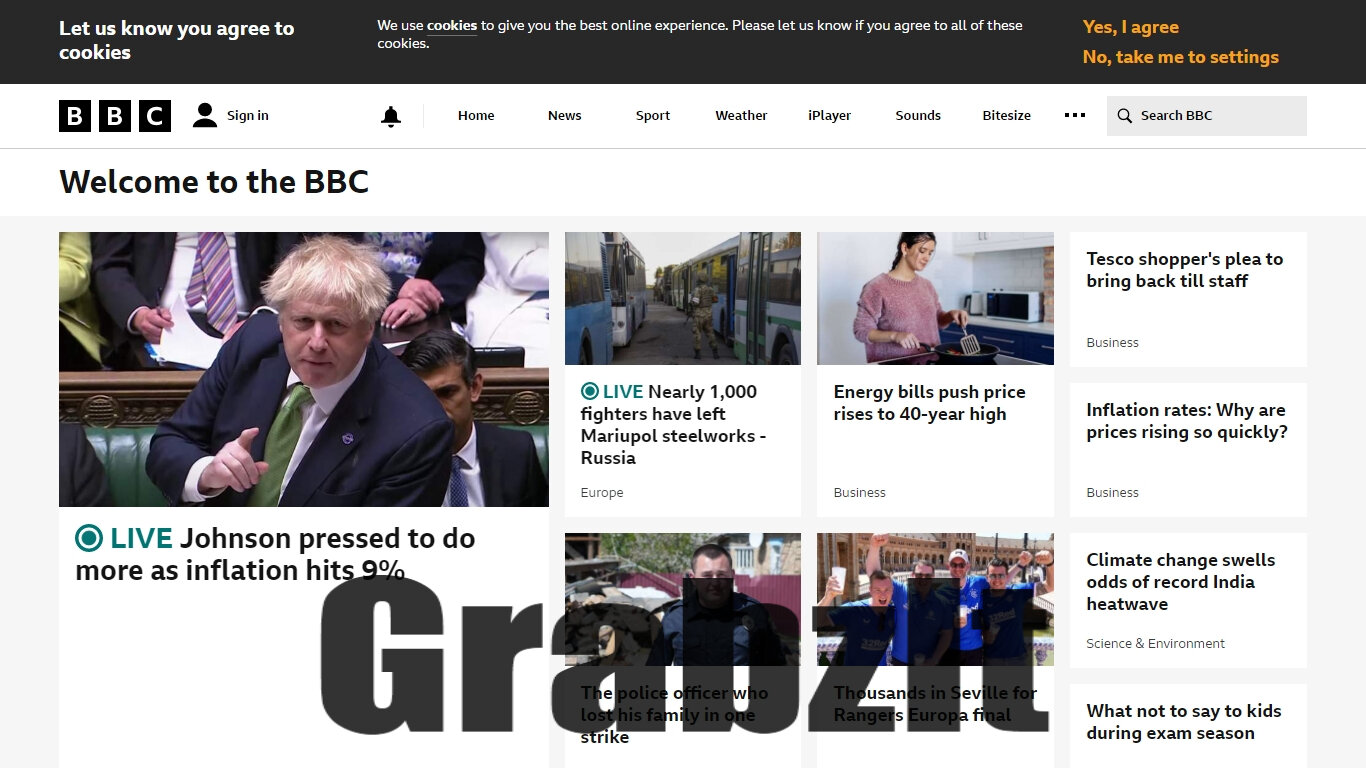
Now run the program. This will result in a screenshot saved under your project directory.
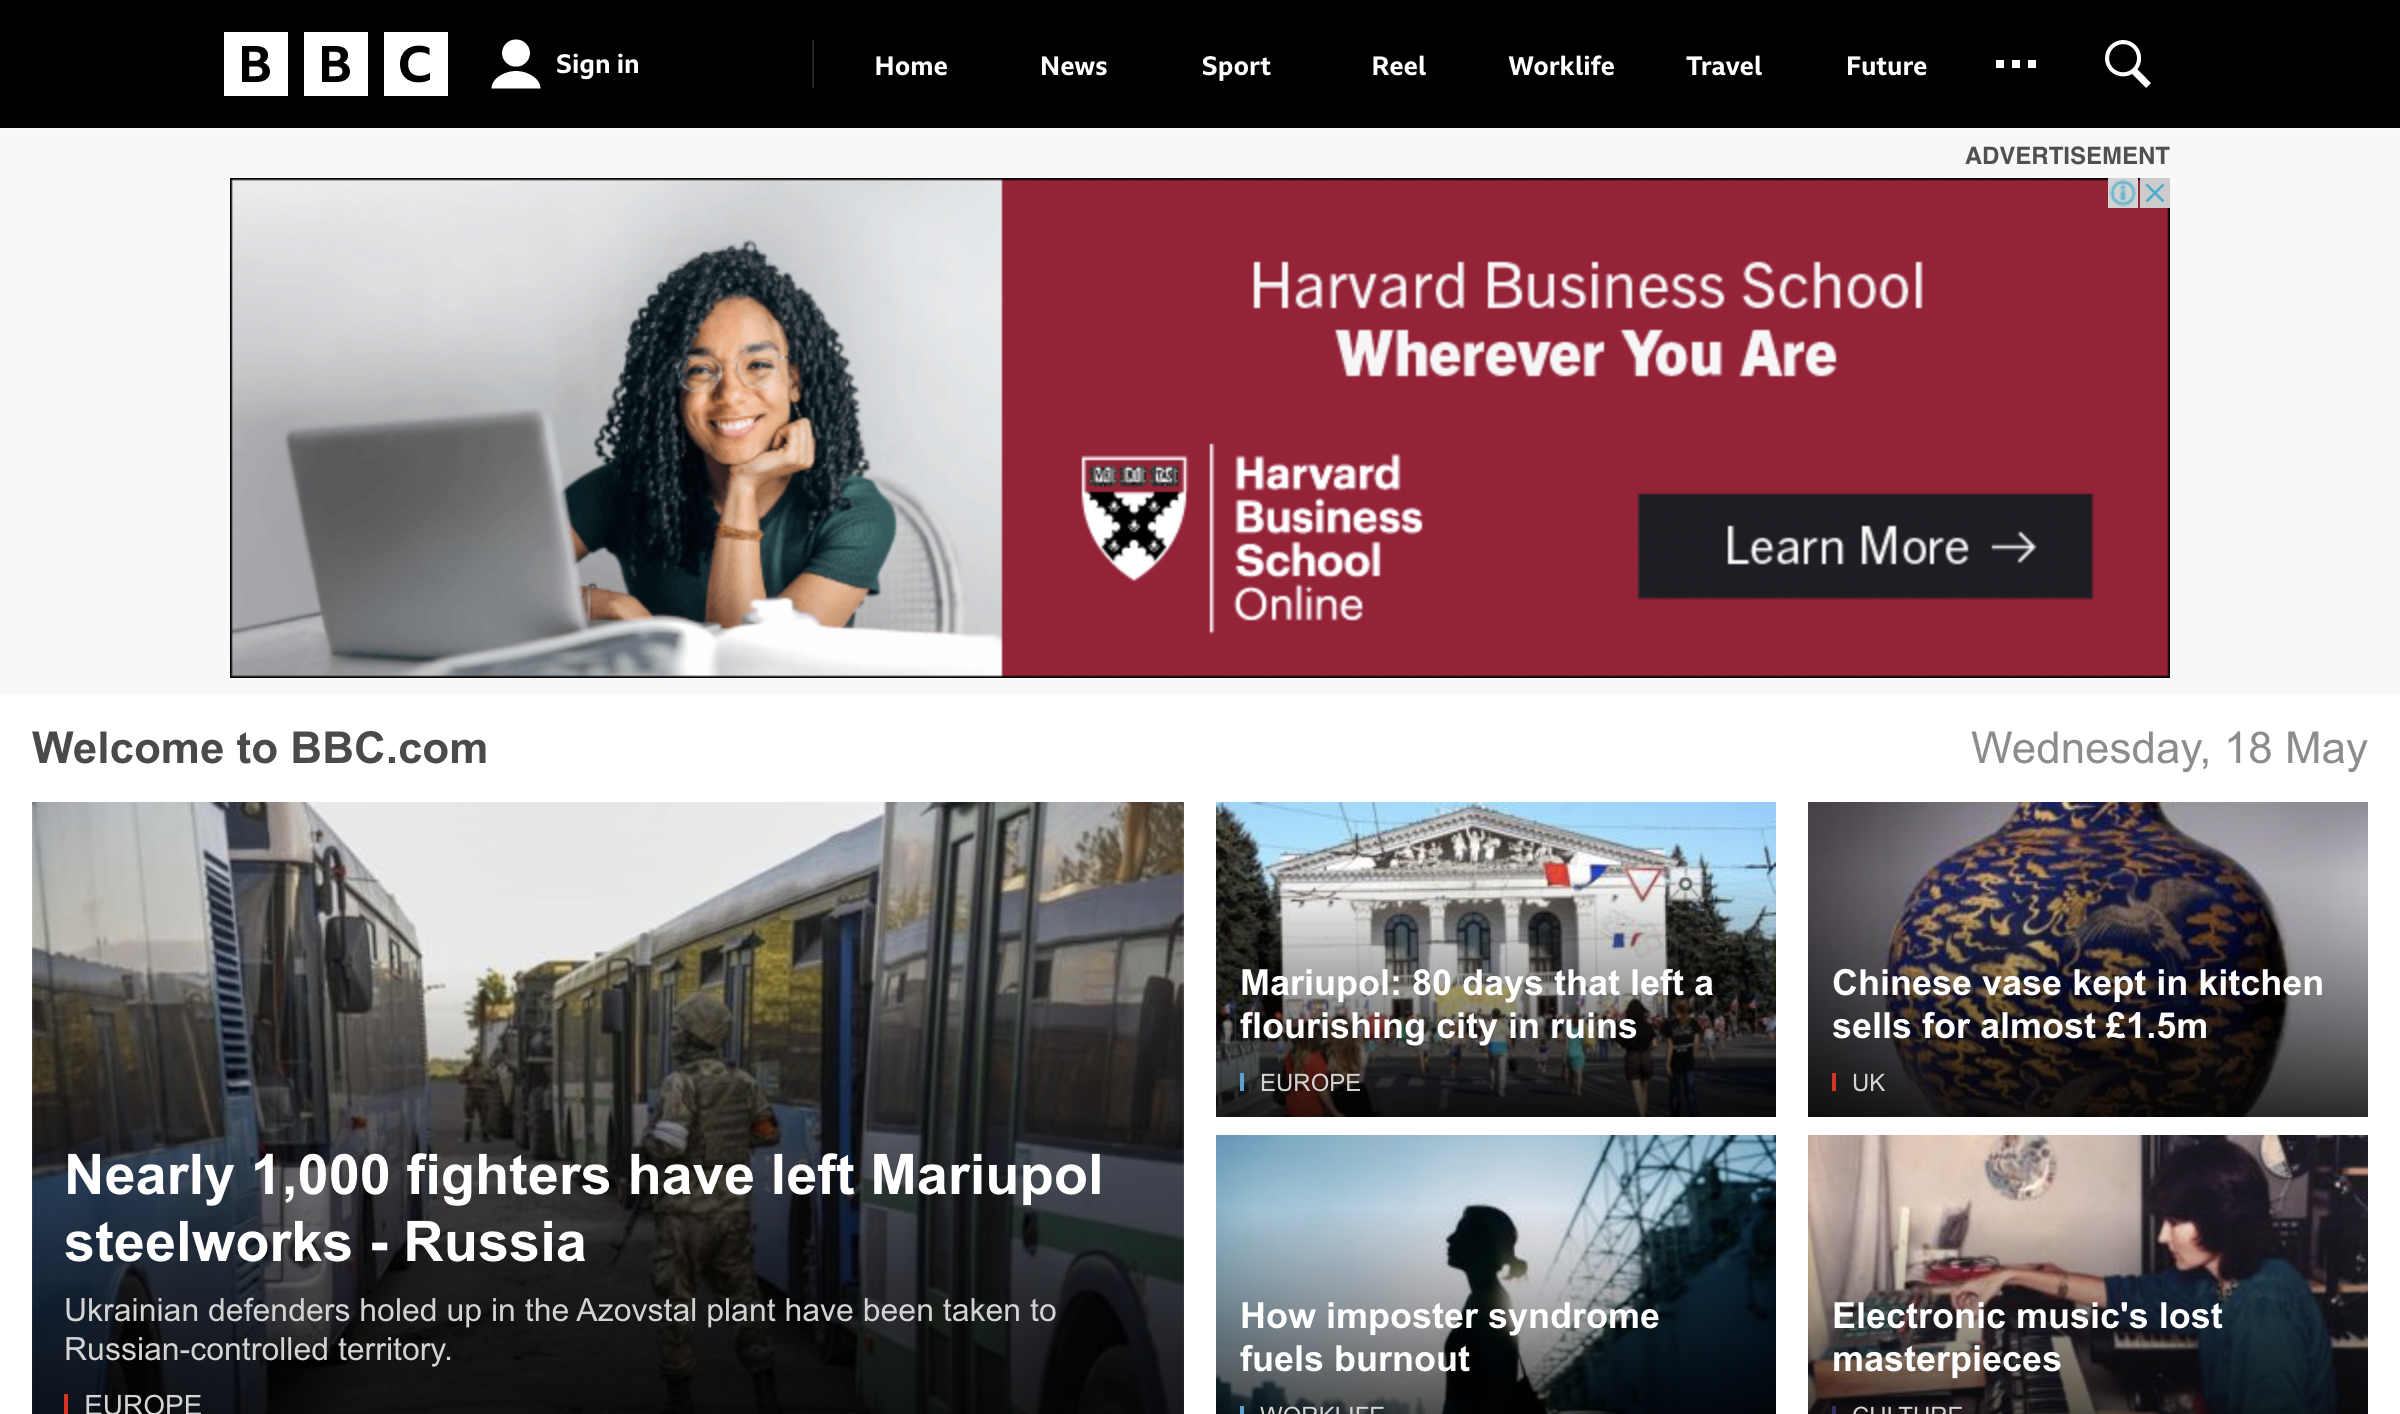
This is a decent screenshot of the BBC website, but you can see that an ad was captured as well. While this screenshot looks fine, taking a screenshot of a scrollable page would be tricky using Selenium, as would getting an effective screenshot of a page that had pop-ups, cookie banners, or ads that obscured some of the content.
Selenium isn't an out-of-the-box solution, and while you could customize the output, it would require significantly more resources and development to do so.
Taking a Screenshot Using GrabzIt
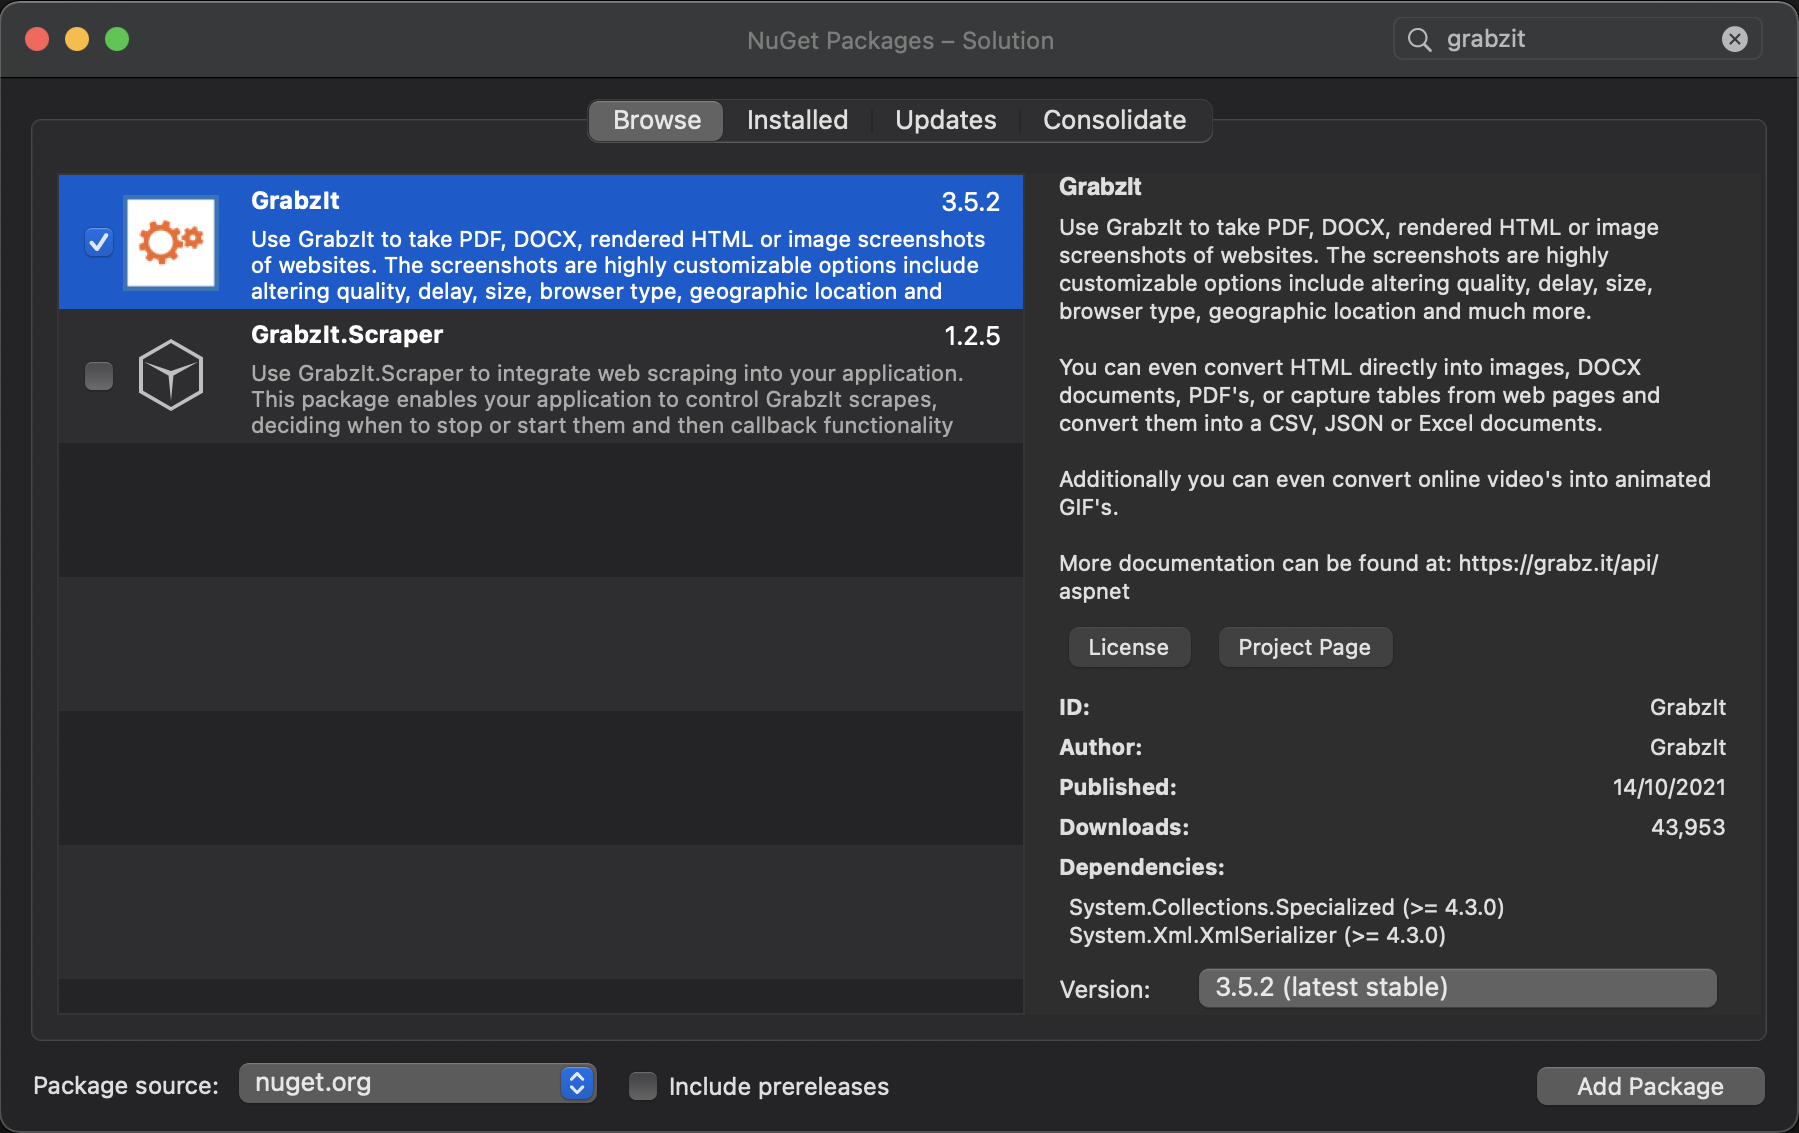
GrabzIt is a tool that enables companies to capture screenshots from URLs and convert them into images, PDFs, .docx files, CSV files, as well as others. The tool features an API that you can use in your application to generate screenshots.
To start using GrabzIt, add the "GrabzIt" NuGet package to your project.
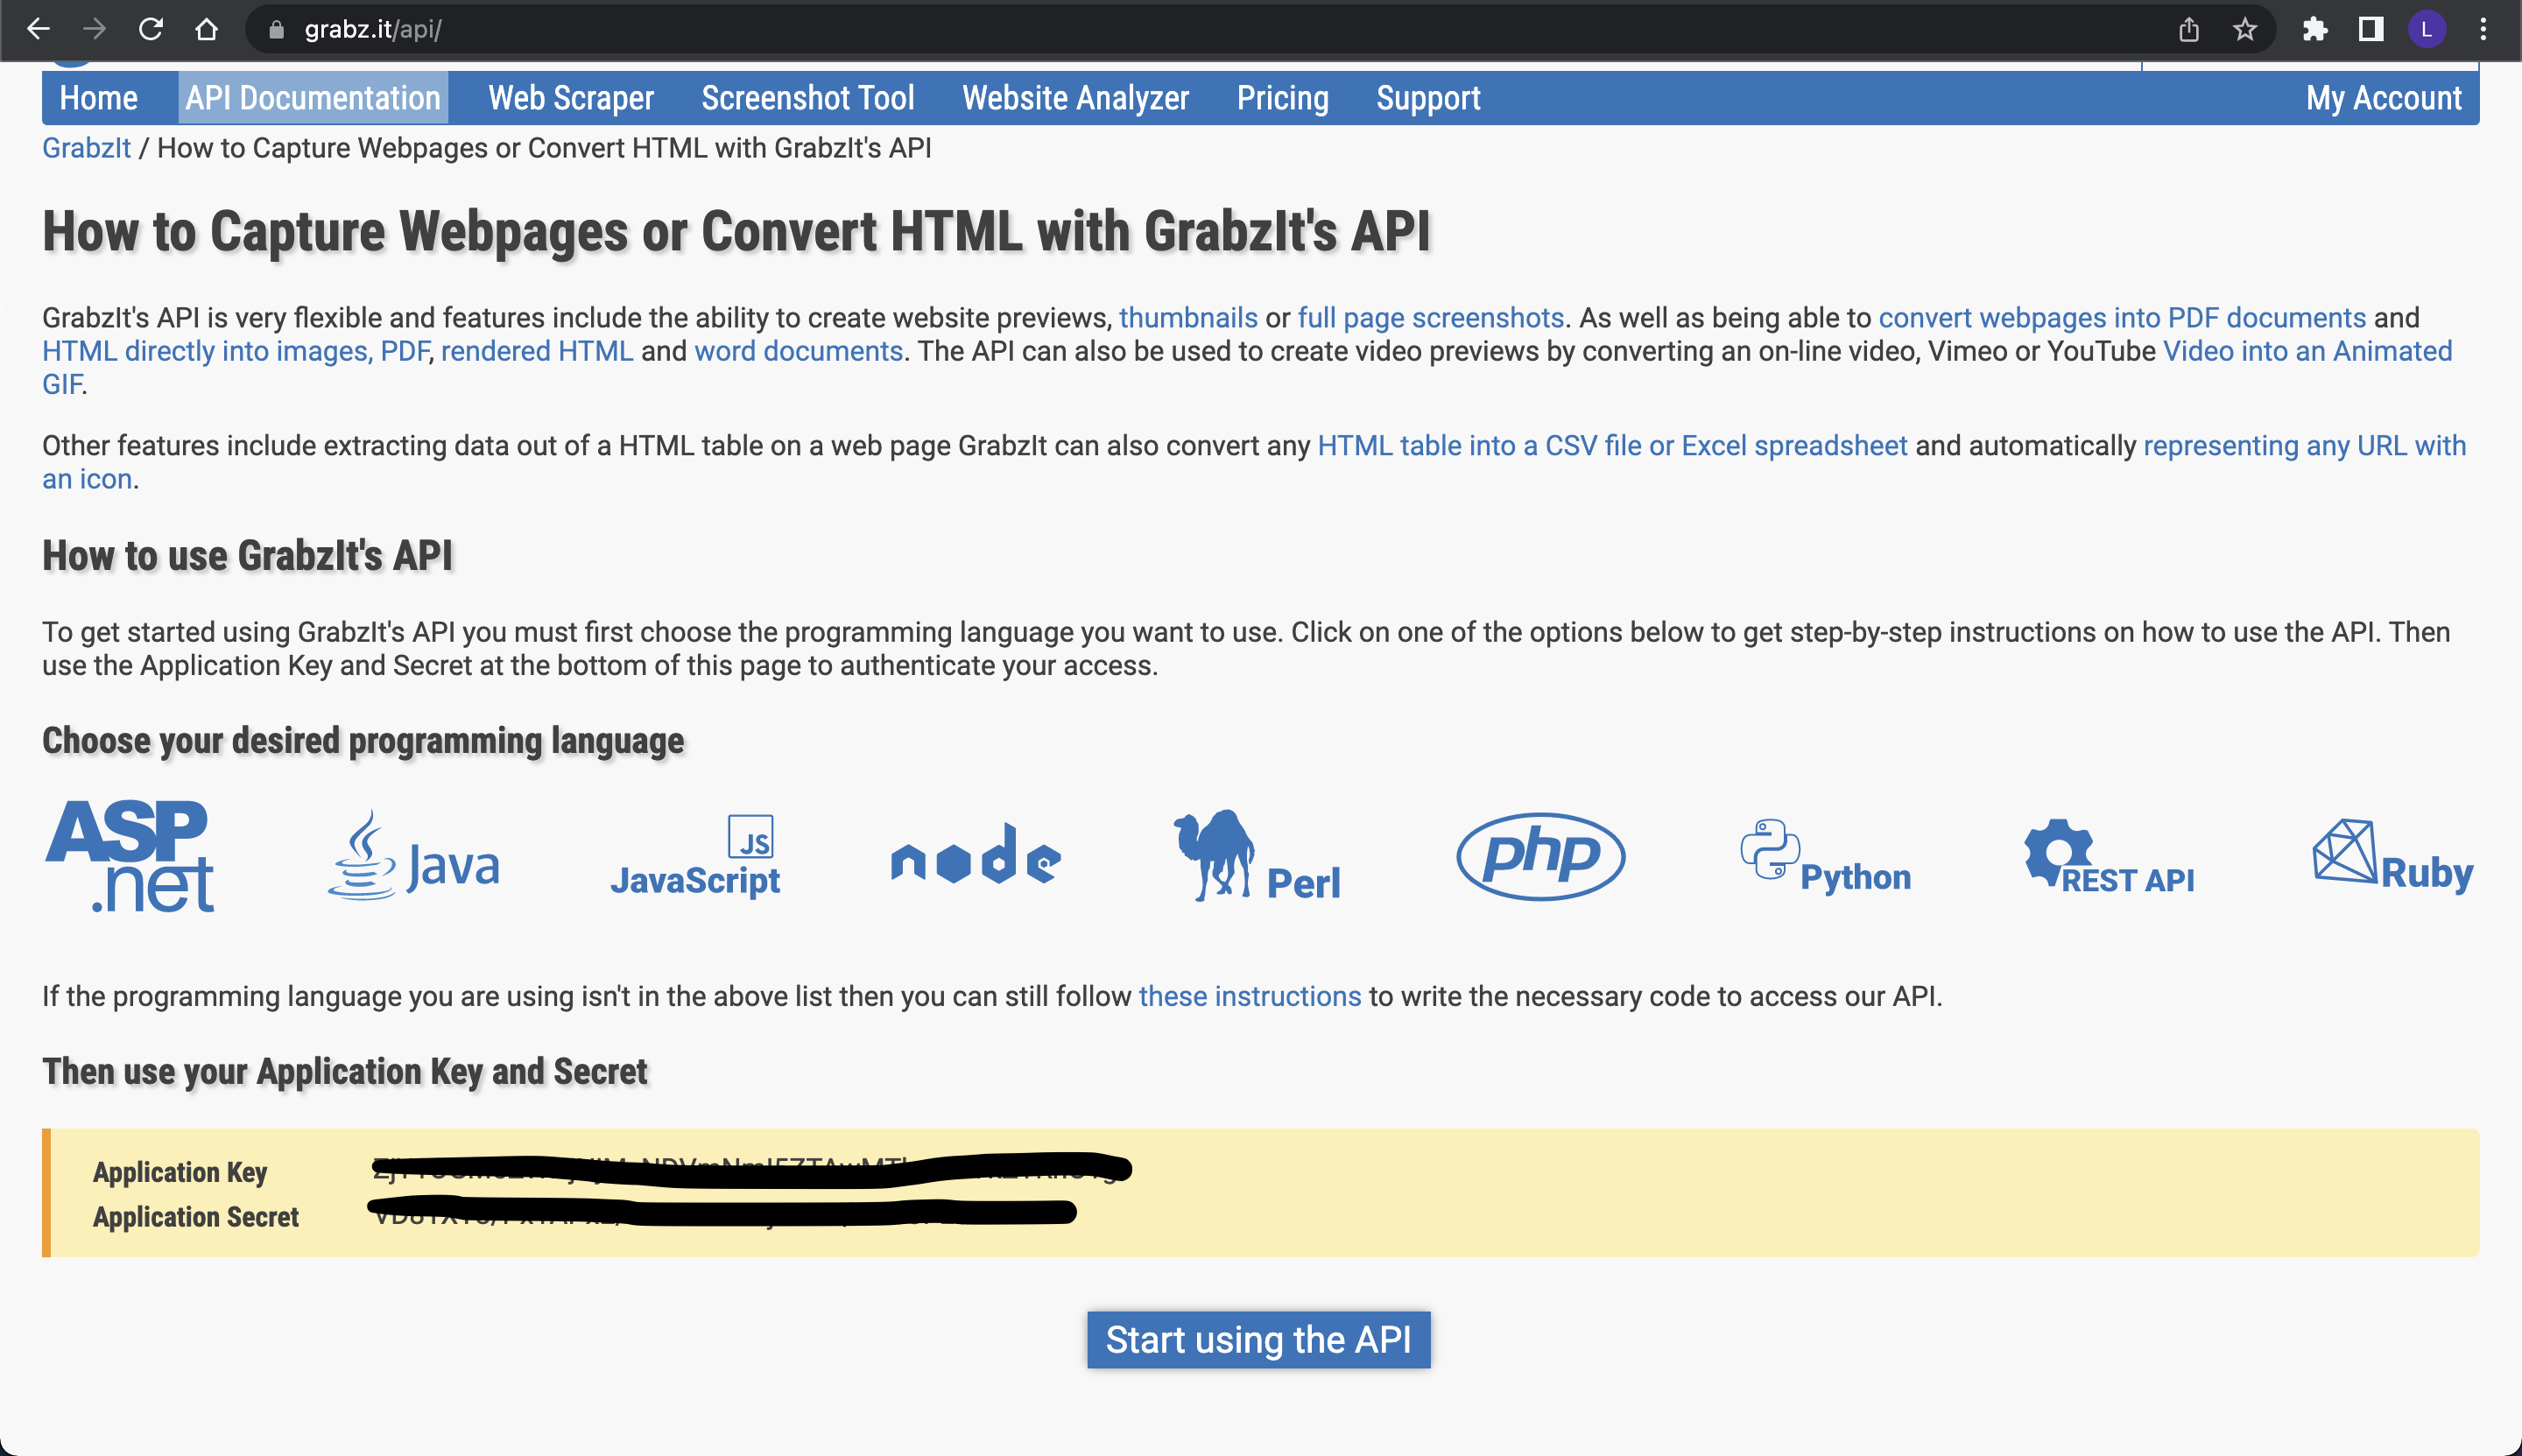
Once added, the NuGet package should start to download automatically. Go to the GrabzIt website and create an account, then sign in to your account. Navigate to API Documentation, and scroll down to get your API key and API secret.
Create a new file called settings.json and add the following code with the API key and API secret into it:
{
  "GrabzItConfig": {
    "ApiKey": "Your API Key",
    "ApiSecret": "Your API Secret"
  }
}
While you could provide your API key and secret as string literals, this is usually considered a bad practice because when using source control like Git, doing so leads to a leak of credentials. Instead, you'll create a JSON file to store your API key and secret, then build a configuration object to read their values.
Configure the build system to copy settings.json to your project's output directory. To achieve this, do one of the following:
- In your code editor, right-click the
settings.jsonfile, and select Properties. In the file property editor UI that appears, set "Copy to output directory" to "Copy if newer". - If the property editor UI is not available, open the
ScreenshotsWithUrlbox.csprojfile and paste the following code just before the closing</Project>tag:
<ItemGroup>
<None Update="settings.json">
<CopyToOutputDirectory>PreserveNewest</CopyToOutputDirectory>
</None>
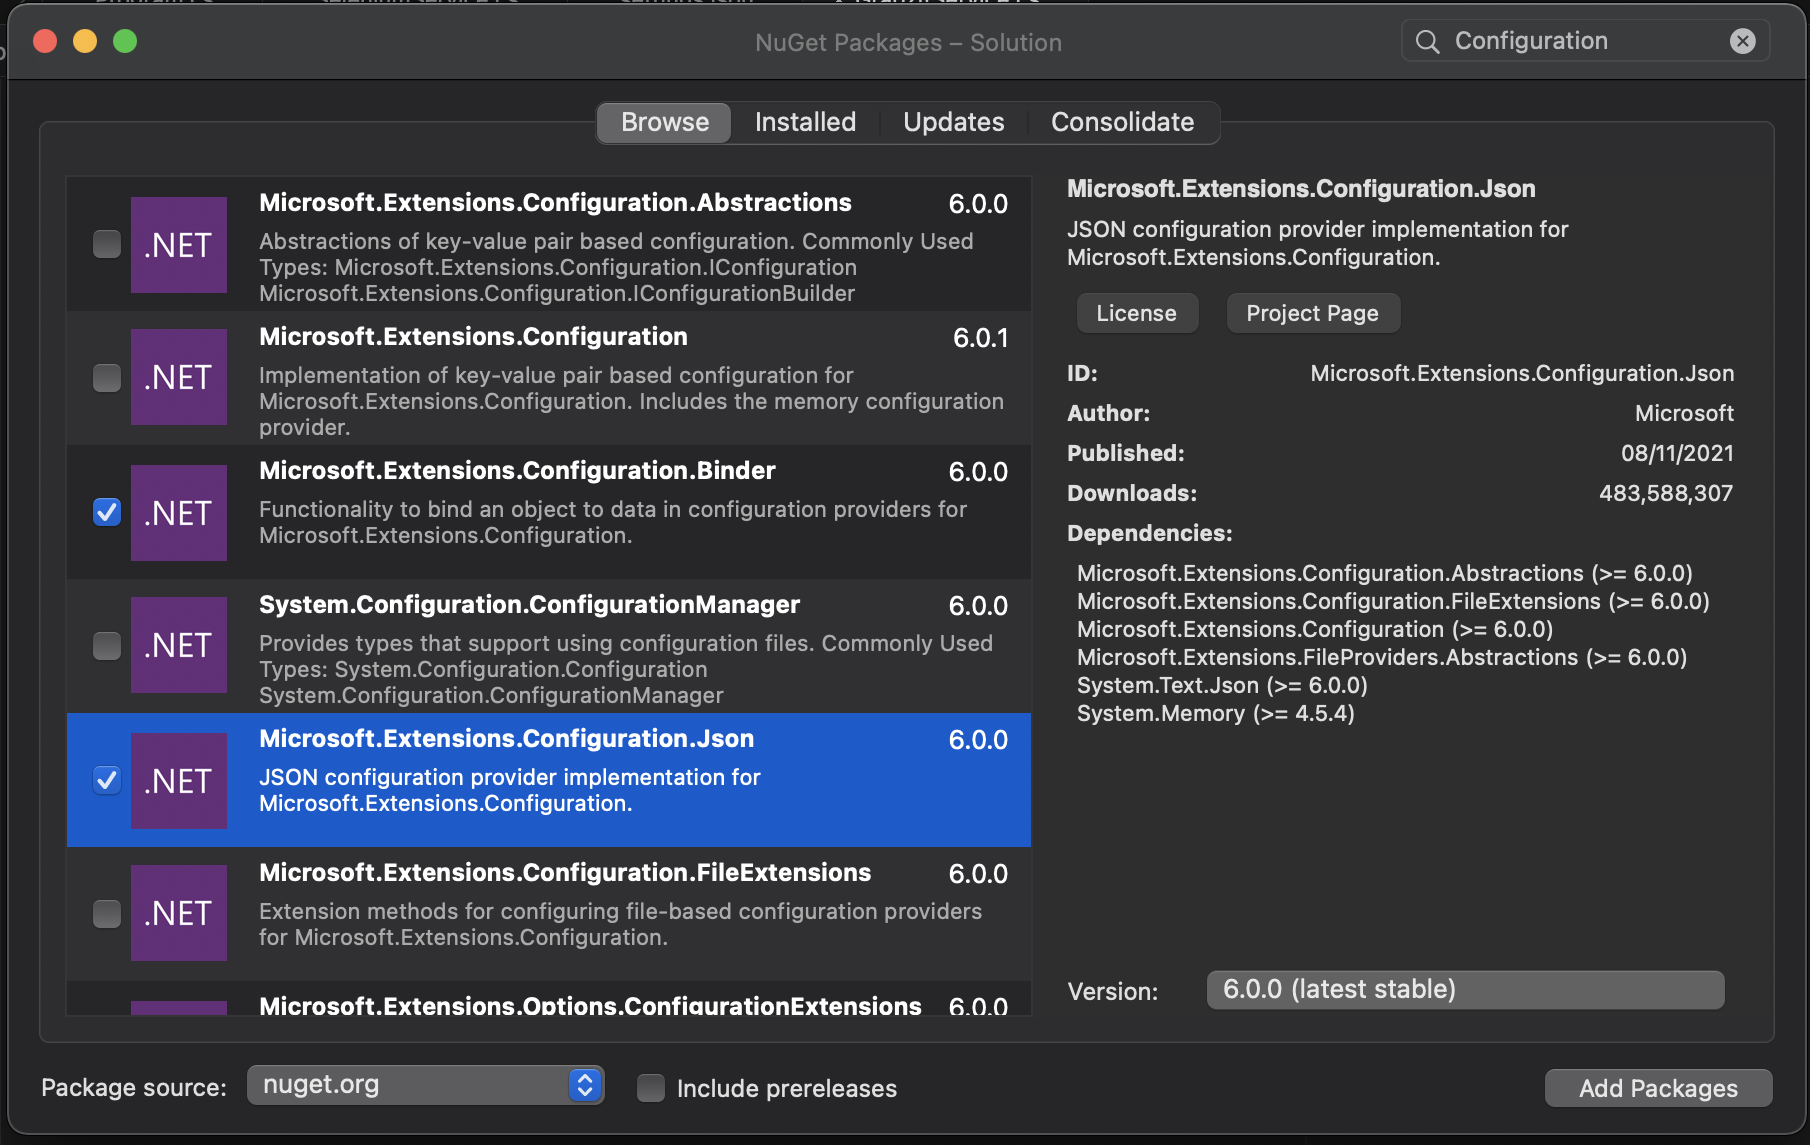
</ItemGroup>To be able to read the keys from the JSON file, you need to add “Microsoft.Extensions.Configuration.Binder” and “Microsoft.Extensions.Configuration.Json”, two NuGet packages.
Next, create a new class called GrabzItService under the services folder, and add the following code:
using GrabzIt;
using Microsoft.Extensions.Configuration;

namespace urlCapturing.services
{
	public class GrabzItService
	{
		public void grabzItShot()
		{
			var grabzItConfig = new ConfigurationBuilder()
                                                .SetBasePath(AppDomain.CurrentDomain.BaseDirectory)
					.AddJsonFile("settings.json").Build();

			string apiKey = grabzItConfig.GetSection("GrabzItConfig:ApiKey").Value;
			string apiSecret = grabzItConfig
 					.GetSection("GrabzItConfig:ApiSecret")
.Value;
			var weburl = "https://bbc.com";

			//Create the GrabzItClient class
			GrabzItClient grabzIt = new GrabzItClient(apiKey, apiSecret);
			// To take a image screenshot
			grabzIt.URLToImage(weburl);
			string imagePath = "./../../../grabzIt-bbc.jpg";
			grabzIt.SaveTo(imagePath);
		}
	}
}
The above code does the following:
- Creates a configuration object, which grabs the keys from the JSON file using the ConfigurationBuilder() method.
- Saves the GrabzIt keys into string variables.
- Creates an instance of the GrabzIt client.
- Calls URLToImage(), the method that will take the screenshot of a web URL.
- Saves the screenshot image under the project directory.
To run the GrabzIt Service, update the "Program" class by pasting the following code in at the end of the existing code:
     // Taking screenshots with GrabzIt
     var grabzItShot = new GrabzItService();
     grabzItShot.grabzItShot();
    //end
Now run the program, and you should get a screenshot saved under your project directory.
As you can see, if you want to take a full-page screenshot using GrabzIt, you'll find that it's fairly tricky—you can’t do it dynamically without knowing the dimensions of the page you're trying to capture. Additionally, the cookie pop-up banner is appearing at the top of the page, and it's not feasible to bypass this using GrabzIt.
Taking a Screenshot Using Urlbox
Urlbox is a simple and focused website screenshot API. It supports full-page screenshots as a single image, and responsive screenshots that allow you to simulate different screen sizes—it even allows you to pass a user-agent string to take a screenshot of mobile-optimized sites. You can fine tune the look of your screenshots by blocking specific sections, dismissing cookie banners, and blocking pop-ups and ads.
First, create a Urlbox account. To create an account, go to the Urlbox website and click Sign up for free, which will give you a free seven-day trial of Urlbox.
Fill in your details, set a password, and click Let's get started. Confirm your email, then click Continue to dashboard.
When the dashboard opens, you click Go to sandbox screen to experiment with Urlbox's features in a visual environment. Keep in mind that your trial gives you a hundred unique screenshot captures, so be sure not to run out of them before you have a chance to write any C# code.
Take note of your API key and API secret, as shown below. You'll need to pass these with your Urlbox API calls.

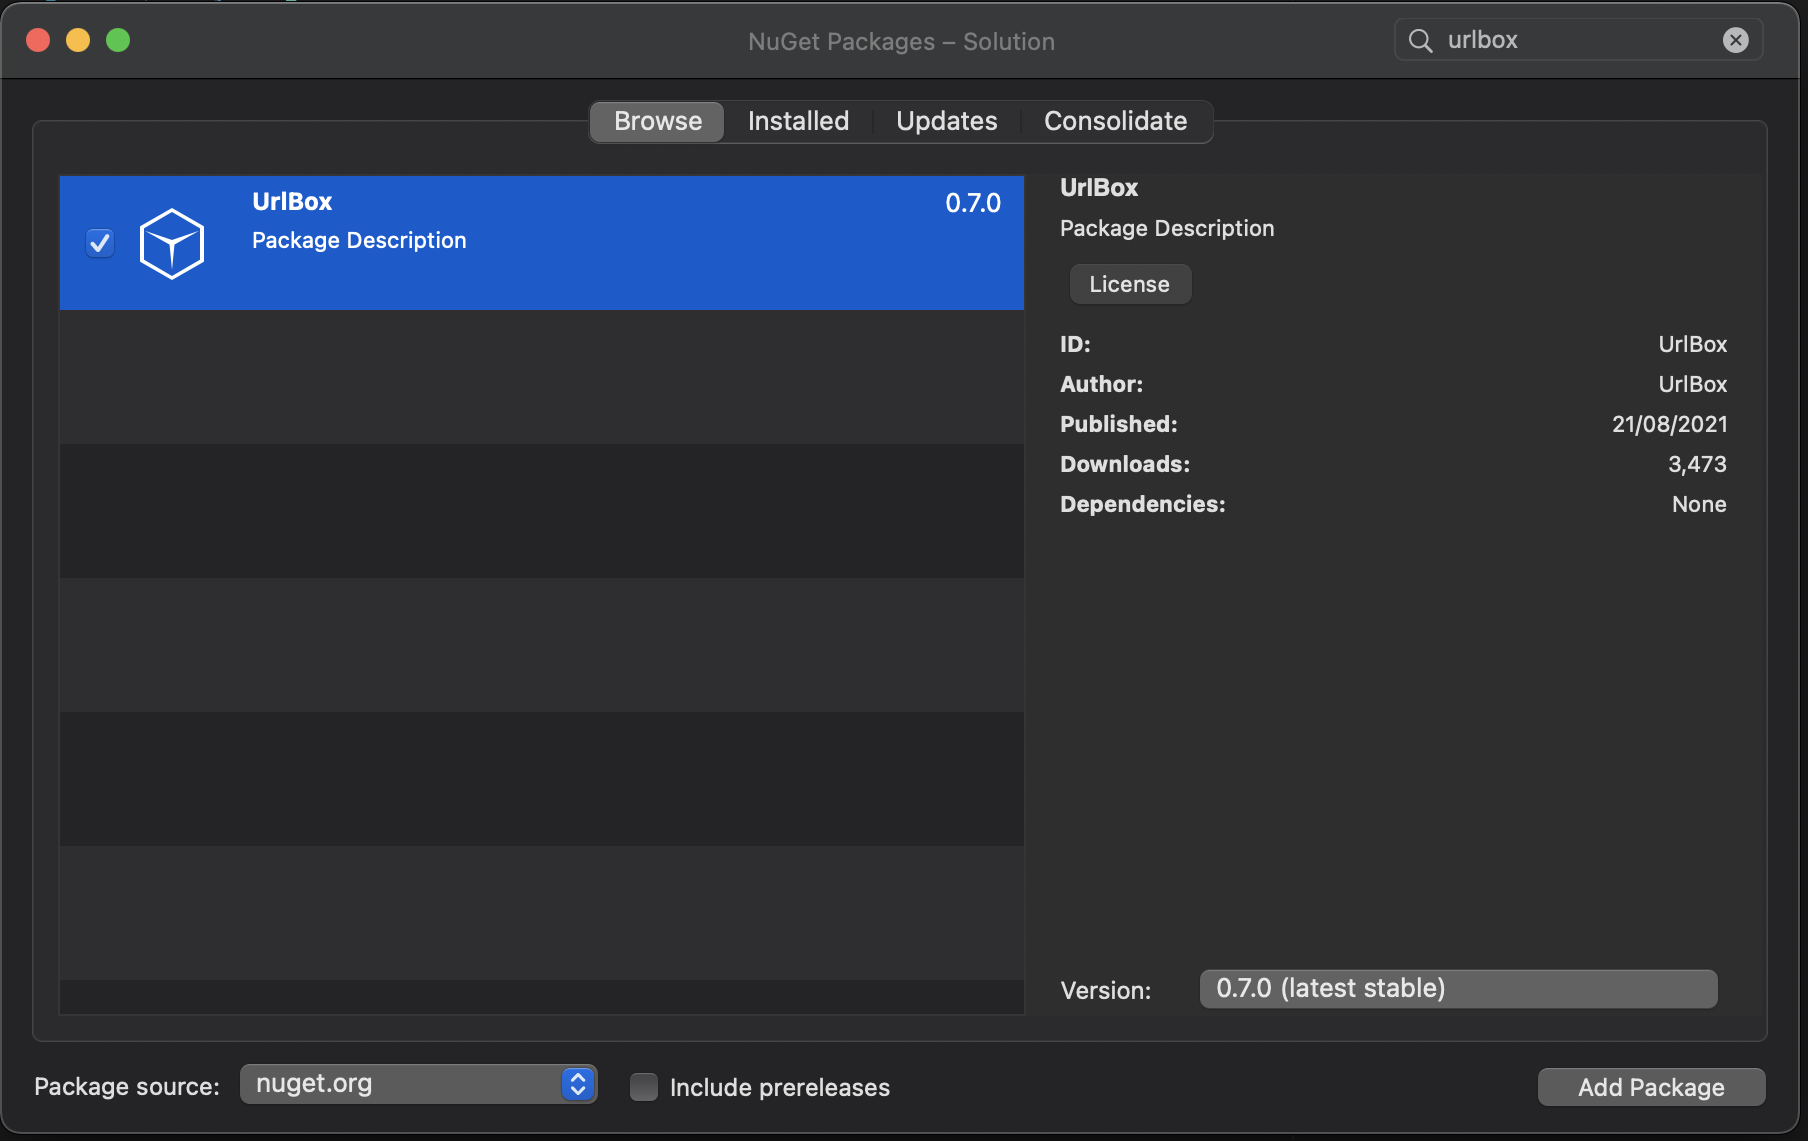
To start using Urlbox, add the "Urlbox" NuGet package to your project.
Before you can take screenshots with Urlbox, you'll need to integrate your API key and secret into your .NET application.
In settings.json, add the following snippet to the existing code, replacing the placeholder text with your key and secret:
  "UrlBoxConfig": {
    "ApiKey": "Your API Key",
    "ApiSecret": "Your API Secret"
  }
Under the "services" folder, create a new class called "UrlboxService" and add the following code:
using Microsoft.Extensions.Configuration;
using UrlBox;

namespace urlCapturing.services
{
	public class UrlBoxService
	{
		public void urlBoxScreenShots()
		{
            var urlBoxConfig = new ConfigurationBuilder()
                              .SetBasePath(AppDomain.CurrentDomain.BaseDirectory)
                              .AddJsonFile("settings.json").Build();

            string apiKey = urlBoxConfig.GetSection("UrlBoxConfig:ApiKey").Value;
            string apiSecret = urlBoxConfig.GetSection("UrlBoxConfig:ApiSecret").Value;
            var urlBox = new UrlBoxClient(apiKey, apiSecret);
            var weburl = "https://bbc.com";

            //simple screenshot
            var requestSimpleScreenshot = new ScreenshotRequest(new Uri(weburl));
            var outputSimple = urlBox.GetSignedUrl(requestSimpleScreenshot);
            Console.WriteLine(outputSimple);


            //fullscreen without Ads and cookie banners
            var requestFullNoAds = new ScreenshotRequest(new Uri(weburl))
            {
                FullPage = true,
                BlockAds = true,
                HideCookieBanners = true
            };
            var outputFullNoAds = urlBox.GetSignedUrl(requestFullNoAds);
            Console.WriteLine(outputFullNoAds);


            //Retina quality png based on subset of a page
            var requestRetina = new ScreenshotRequest(new Uri(weburl))
            {
                Width = 768,
                UserAgent = "mobile",
                Retina = true,
                BlockAds = true,
                HideCookieBanners = true,
                Selector = ".module--editors-picks",
                Delay = TimeSpan.FromSeconds(10),
                FailIfSelectorMissing = true,
                FailOn4xx = true,
                FailOn5xx = true
            };
            var outputRetina = urlBox.GetSignedUrl(requestRetina);
            Console.WriteLine(outputRetina);

            //Full-page pdf Document with Highlights
            var requestPDF = new ScreenshotRequest(new Uri(weburl), "pdf")
            {
                FullPage = true,
                BlockAds = true,
                HideCookieBanners = true,
                PdfBackground = false,
                Highlight = "Supreme Court",
                HighlightBg = "red",
                HighlightFg = "white"
            };

            var outputPDF = urlBox.GetSignedUrl(requestPDF);
            Console.WriteLine(outputPDF);
        }

    }
}
The above code does the following:
- Creates a configuration object that users the ConfigurationBuilder() method to grab the keys from the JSON file.
- Saves the Urlbox keys as string variables.
- Creates an instance of the Urlbox client.
- Takes different types of screenshots, including simple, fullscreen, retina, and pdf.
To run the Urlbox Service, update the "Program" class by adding the following code at the end of the existing code:
     // Taking screenshots with UrlBox
     var urlBox = new UrlBoxService();
     urlBox.urlBoxScreenShots();
    //end
Run your program, and it will return console output of URLs for different screenshot options.
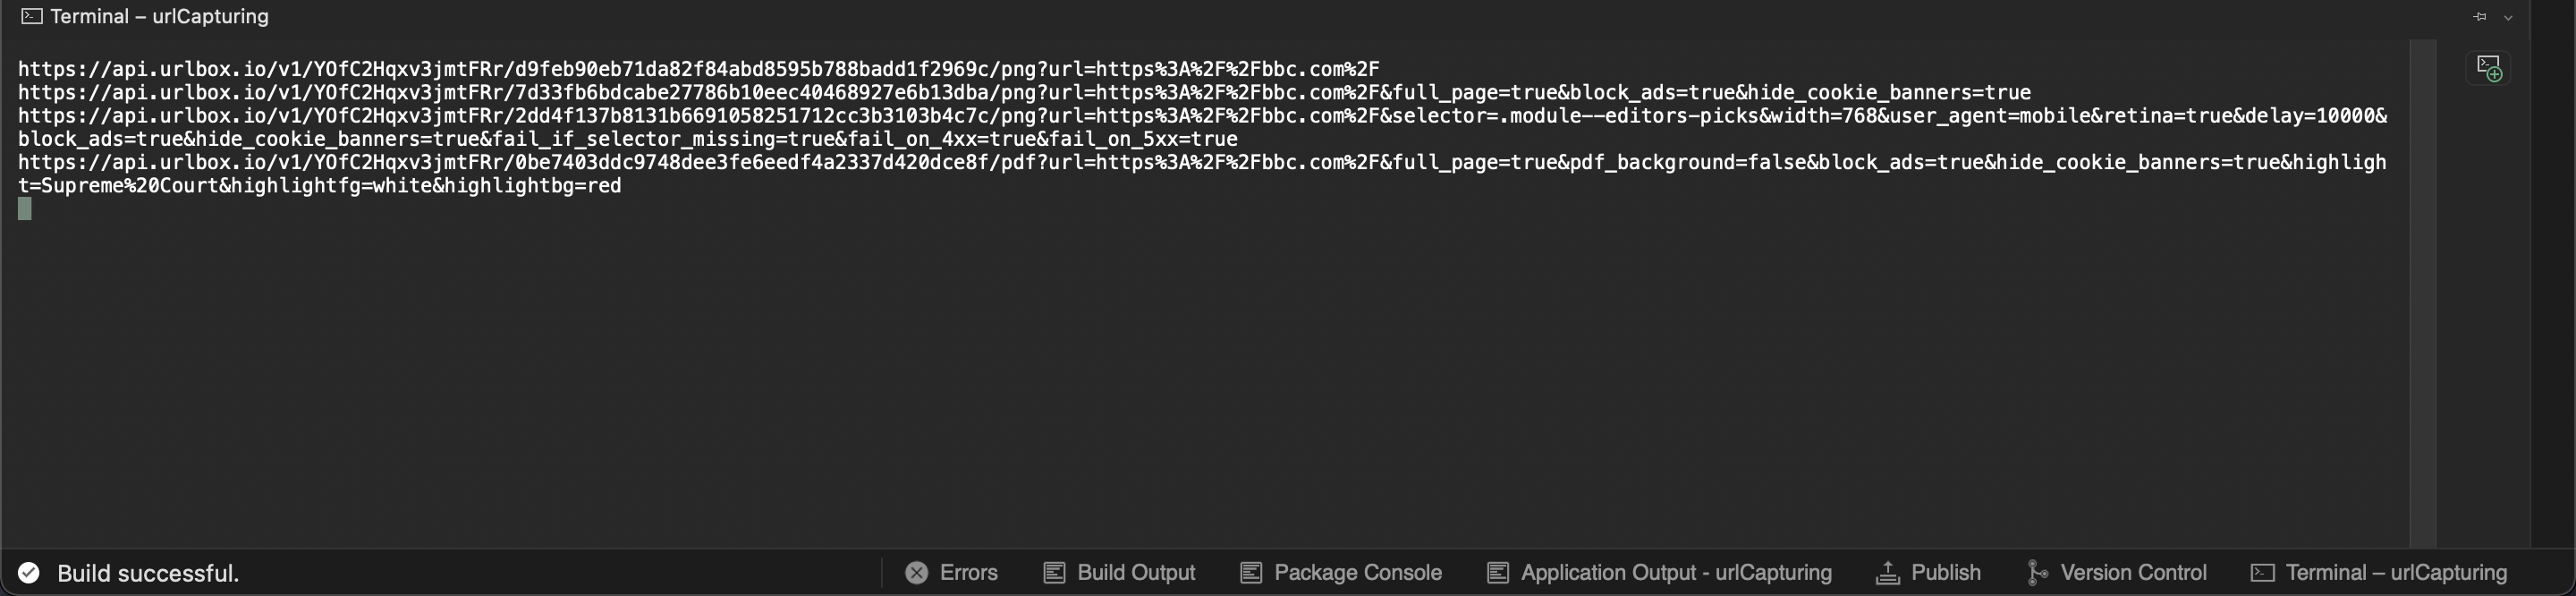
These URLs are the screenshots, which will be described in order.
Simple Screenshot
As soon as you call the GetSignedUrl() method, the Urlbox client sends a request to the Urlbox API with the screenshot parameters defined above. The API returns the URL of the resulting screenshot, which is a 1280x1024 PNG.

This is the basic automatic screenshot capture workflow that the GetSignedUrl() method enables. You send a screenshot request, and in return, you get the URL of the captured screenshot, which you can then either embed in client HTML or process a different way.
In addition to GetSignedUrl(), the client provides another method, TakeScreenshotAsync().
Behind the scenes, TakeScreenshotAsync() also invokes GetSignedUrl(), but it makes the call asynchronously and converts the HTTP response into a stream. Instead of a string with the URL of the screenshot, you get a memory stream representing the screenshot. TakeScreenshotAsync() is great if your application captures screenshots at scale, but for simpler use cases and demo purposes, GetSignedUrl() is easier to use.
Clean, Full-Page Screenshots
As you can see, you can use C# object initializer syntax to set the various properties available on the request object. Of the three properties used in this statement, BlockAds and HideCookieBanners are fairly self-explanatory, and FullPage tells Urlbox to capture the entire length of the target page into a single screenshot.
This screenshot is significantly larger than the first one. It's also a PNG that's 1280 pixels wide, but it has a height of 8402 pixels.

If you look closely at the top part of the screenshot, you'll see that the iframe with ads, usually displayed between the navigation bar and the main content, is nowhere to be found
A Retina-Quality PNG Screenshot Based on a Subset of a Page
What if you're only interested in capturing a specific part of a page? Maybe you want to emulate a mobile device and max out on pixel ratio. To do so, you used the following options in your code for the request:
var request = new ScreenshotRequest(new Uri("https://bbc.com"))
{
    Width = 768,
    UserAgent = "mobile",
    Retina = true,
    BlockAds = true,
    HideCookieBanners = true,
    Selector = ".module--editors-picks",
    Delay = TimeSpan.FromSeconds(10),
    FailIfSelectorMissing = true,
    FailOn4xx = true,
    FailOn5xx = true
};Widthsets the viewport width of the browser used to capture a screenshot. 768 pixels is the width of an iPad Air Mini in portrait orientation.UserAgentinstructs Urlbox to use a mobile-like user agent setting.Retinarequests a high-definition screenshot with a device pixel ratio of @2x.BlockAdsandHideCookieBannersstrip out ads and cookie banners, respectively.Selectortells Urlbox to focus on a specific element using the CSS selector syntax.Delayis the amount of time Urlbox waits before taking a screenshot. If the target page is especially large or image heavy, it can be useful to give it a little extra time to load completely before capturing the screenshot.FailIfSelectorMissingtells Urlbox to return an error if it doesn't find the selector specified above. If this property is not set, Urlbox defaults to taking the full page screenshot, which may not be the intended behavior.FailOn4xxandFailOn5xxensure that instead of capturing whatever the browser renders, UrlBox returns an error if requesting the target page results in an HTTP error in the 4xx and 5xx range, respectively.
This results in a retina-quality PNG screenshot that emulates a mobile device and only shows a section of the target page. Because the Retina property was set to true, the width of the resulting screenshot is 1536 pixels, which is exactly double the requested 768-pixel width.
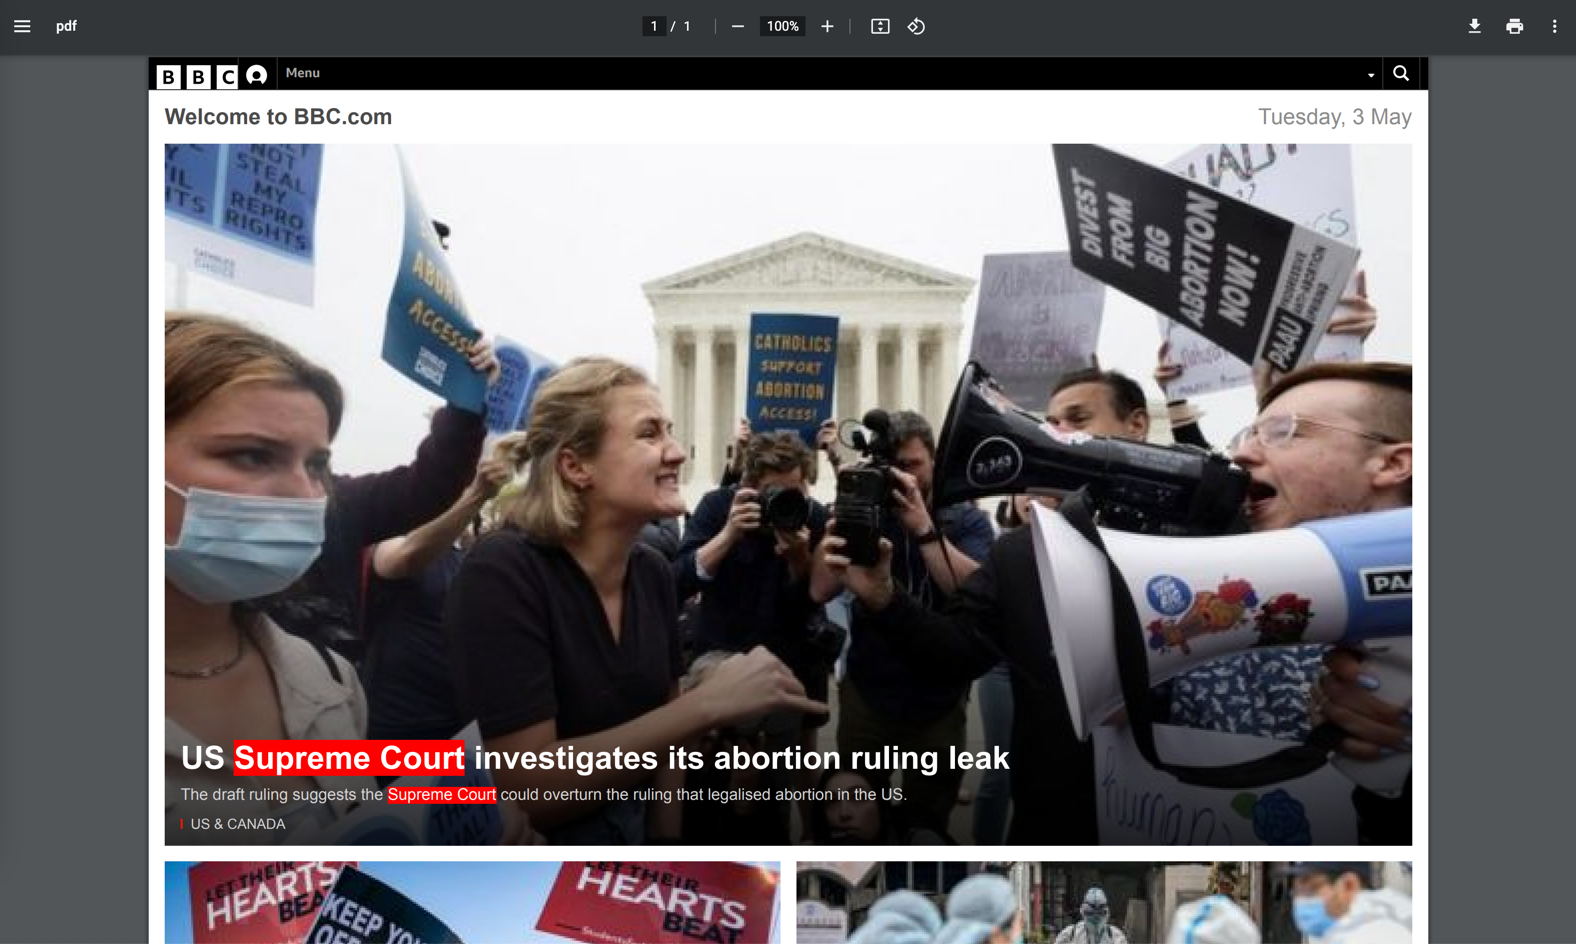
A Full-Page PDF Document With Highlights
Urlbox API isn't limited to capturing screenshots in the PNG format. You can use PDF format as well. To do so, the following options were included in your code for the request:
var request = new ScreenshotRequest(new Uri("https://bbc.com"), "pdf")
{
    FullPage = true,
    BlockAds = true,
    HideCookieBanners = true,
    PdfBackground = false,
    Highlight = "Supreme Court",
    HighlightBg = "red",
    HighlightFg = "white"
};
Note that the ScreenshotRequest constructor now takes two arguments. The second argument, "pdf", defines PDF as the expected return format and overrides the default value of the format parameter, which is "png".
When you look at the parameters used in this call, BlockAds and HideCookieBanners are still there, as is FullPage. Note, however, that with PDFs, FullPage tries to capture the whole HTML page into a single-page PDF document, which is fine for viewing the document on screen, but could be suboptimal for printing.
The remaining parameters are as follows:
PdfBackgroundexcludes any background images that the target HTML page uses from the capture.Highlightis a string that Urlbox searches for in the target page. If found, all occurrences will be highlighted. Although introducing text highlights arguably makes more sense in PDFs, note that this property isn't PDF-specific—you can use it with PNG screenshots, too.HighlightBgandHighlightFgdefine the text highlight's background and foreground colors.
This results in a long PDF document that includes the entire content of the target page, strips out advertisements, and highlights the words "Supreme Court".
For the full list of available options that the Urlbox API provides, see the Urlbox Options reference.
Conclusion
In this tutorial, you've created several simple C# programs using tools like Selenium, GrabzIt, and Urlbox to take screenshots programmatically. Urlbox stands out from tools like Selenium and GrabzIt because it also offers out-of-the-box features such as high-DPI images that look great on retina screens, pop-up blocking, automatic dismissal of cookie banners to prevent them spoiling your screenshots, ad blocking, and automatic CAPTCHA bypass.
Handling issues like this with other tools is time-consuming and costly, and requires writing extensive custom code—possible but inefficient.
Urlbox is a fast and accurate screenshot rendering service at scale. It offers many options, such as blocking ads and pop-ups, or even changing the appearance of a page with custom CSS or JavaScript. If you need a seamless screenshot solution that integrates into your workflow, give Urlbox a try.
