
Using node.js and need to a way to capture website screenshots for your product?
This article explores some of the most popular tools and libraries that enable you to easily take website screenshots with javascript and node.js.
Website screenshots with Puppeteer
Puppeteer is a node.js library that automates headless chromium and chrome. This allows us to browse to a url and take a website screenshot. It is maintained by the chrome devtools protocol team.
Check out our article on using puppeteer to take website screenshots, for a more in-depth look.
To get started using puppeteer, first we need to install it using npm:
npm install puppeteerNext, we need to import the puppeteer module and write our first puppeteer script:
const puppeteer = require("puppeteer");
puppeteer
  .launch({
    defaultViewport: {
      width: 1280,
      height: 2000,
    },
  })
  .then(async (browser) => {
    const page = await browser.newPage();
    await page.goto("https://nytimes.com");
    await page.screenshot({ path: "nyt-puppeteer.png" });
    await browser.close();
  });
Copy the code into a file called puppeteer-screenshot.js and run the script.
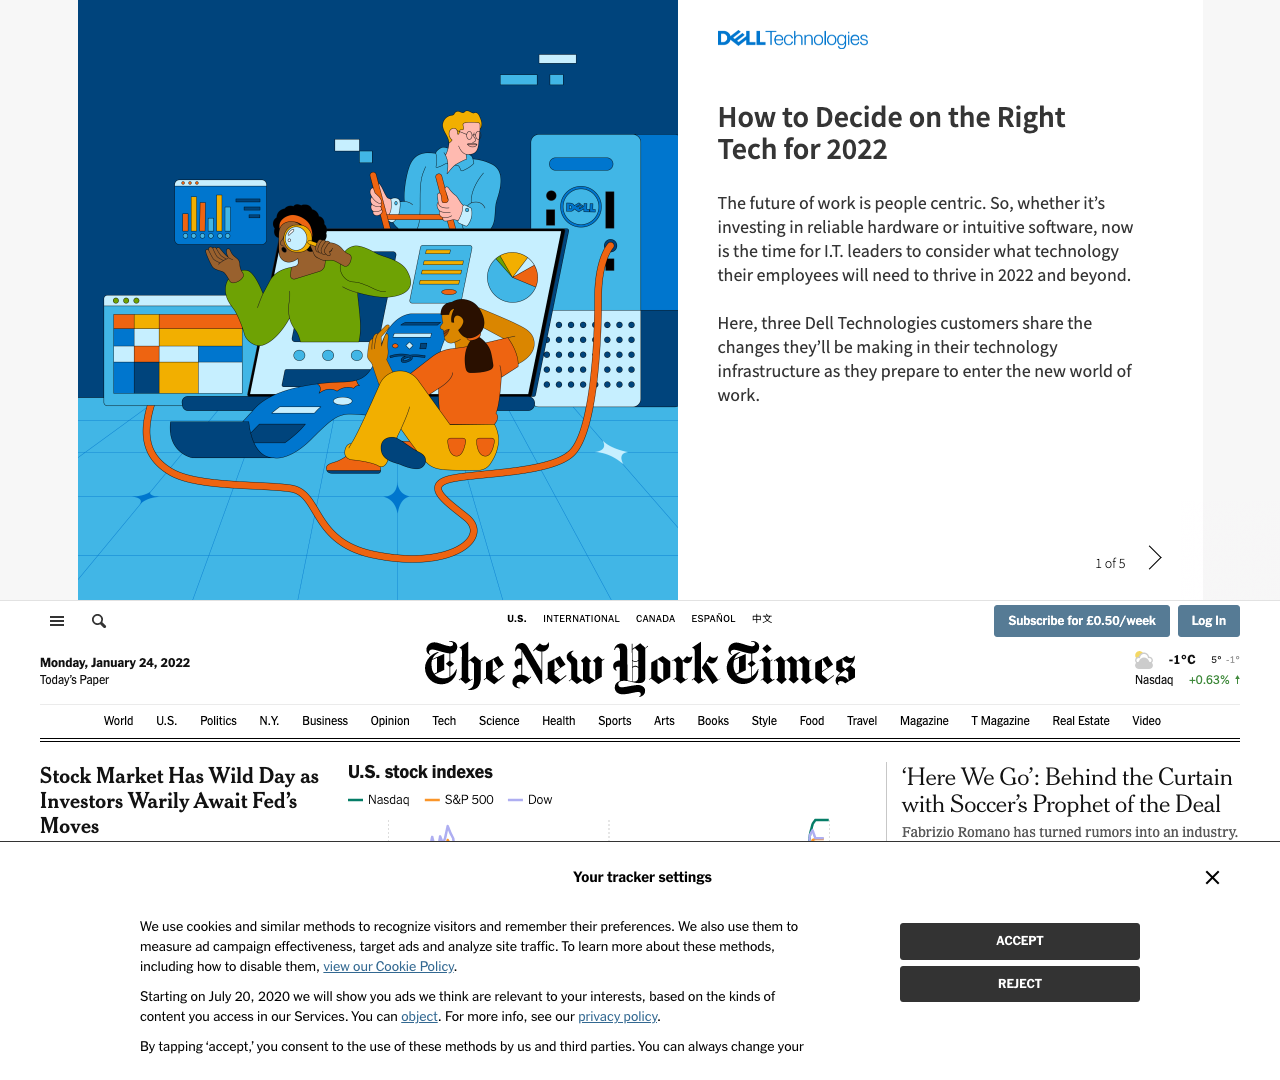
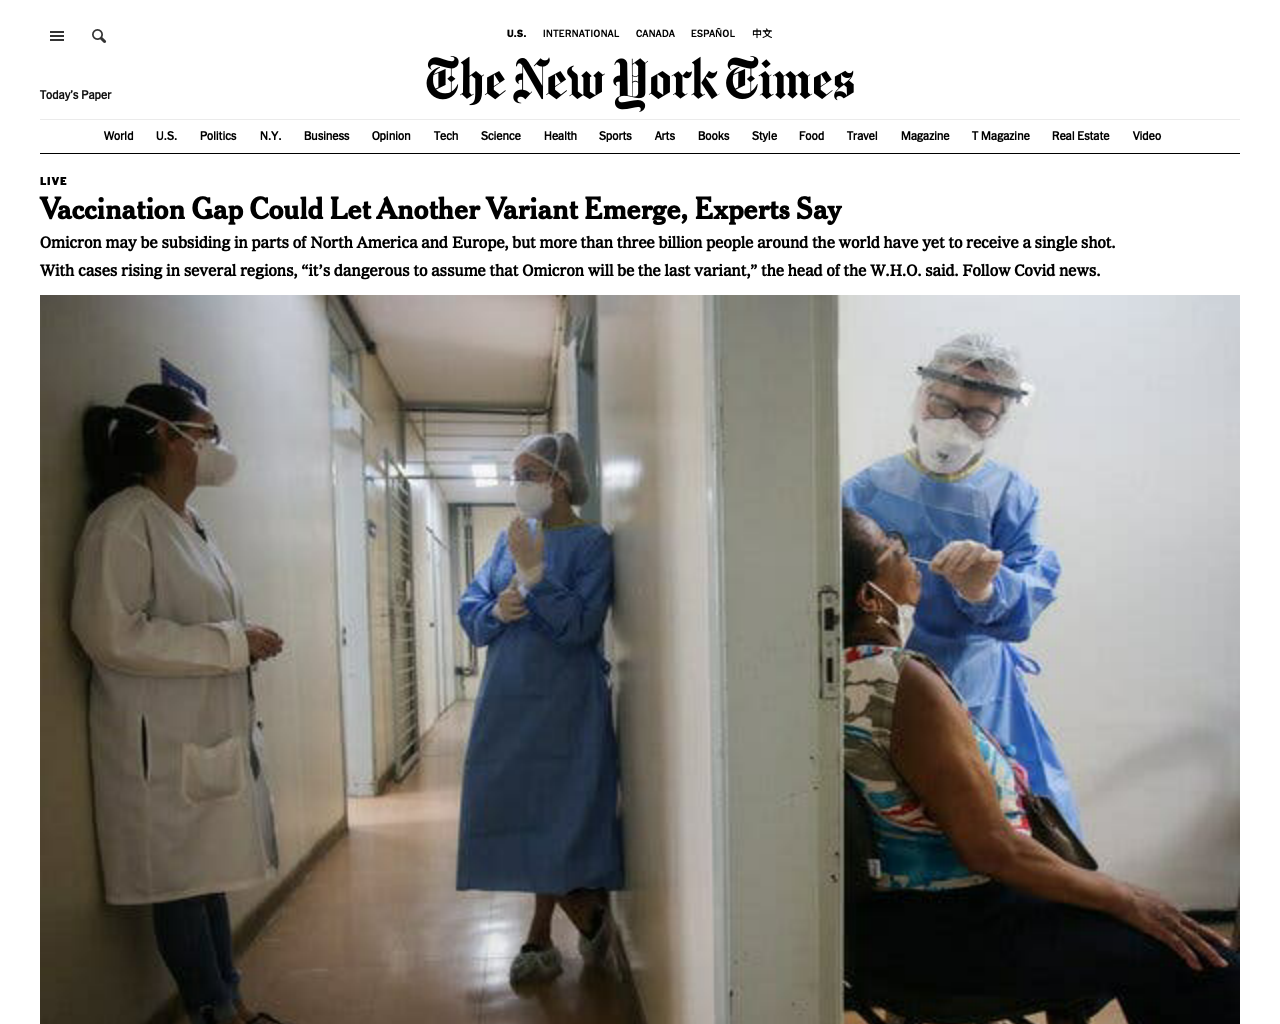
node puppeteer-screenshot.jsThe screenshot generated is named nyt-puppeteer.png and looks like this:

As you can see, most of the screenshot is taken up by an ad on the top, and a cookie banner on the bottom.
This is a common issue with taking website screenshots, and can be time consuming to fix.
If you're looking for a solution that automatically blocks ads from screenshots and hides cookie banners for you, we have built urlbox to solve these problems and more.
Use Playwright to capture website screenshots
Playwright is the new kid on the block of headless browser automation libraries.
Playwright is maintained by microsoft. The API is very similar to puppeteer, in fact some of the original developers of puppeteer are now working on developing and maintaining playwright.
The great thing about playwright is that it can be used to automate chromium, firefox and webkit using the same API. This means it could easily be used for cross-browser screenshot testing.
First let's install playwright using npm:
npm install playwrightNow we can create our first playwright browser automation script:
const { chromium } = require("playwright");
(async () => {
  let browser = await chromium.launch();

  let page = await browser.newPage();
  await page.setViewportSize({ width: 1280, height: 1080 });
  await page.goto("http://nytimes.com");
  await page.screenshot({ path: `nyt-playwright-chromium.png` });
  await browser.close();
})();
The script launches the chromium browser, sets the viewport to 1280x1080, navigates to
http://nytimes.com, and captures a screenshot.
Save the following code to playwright-screenshot.js and run the script:
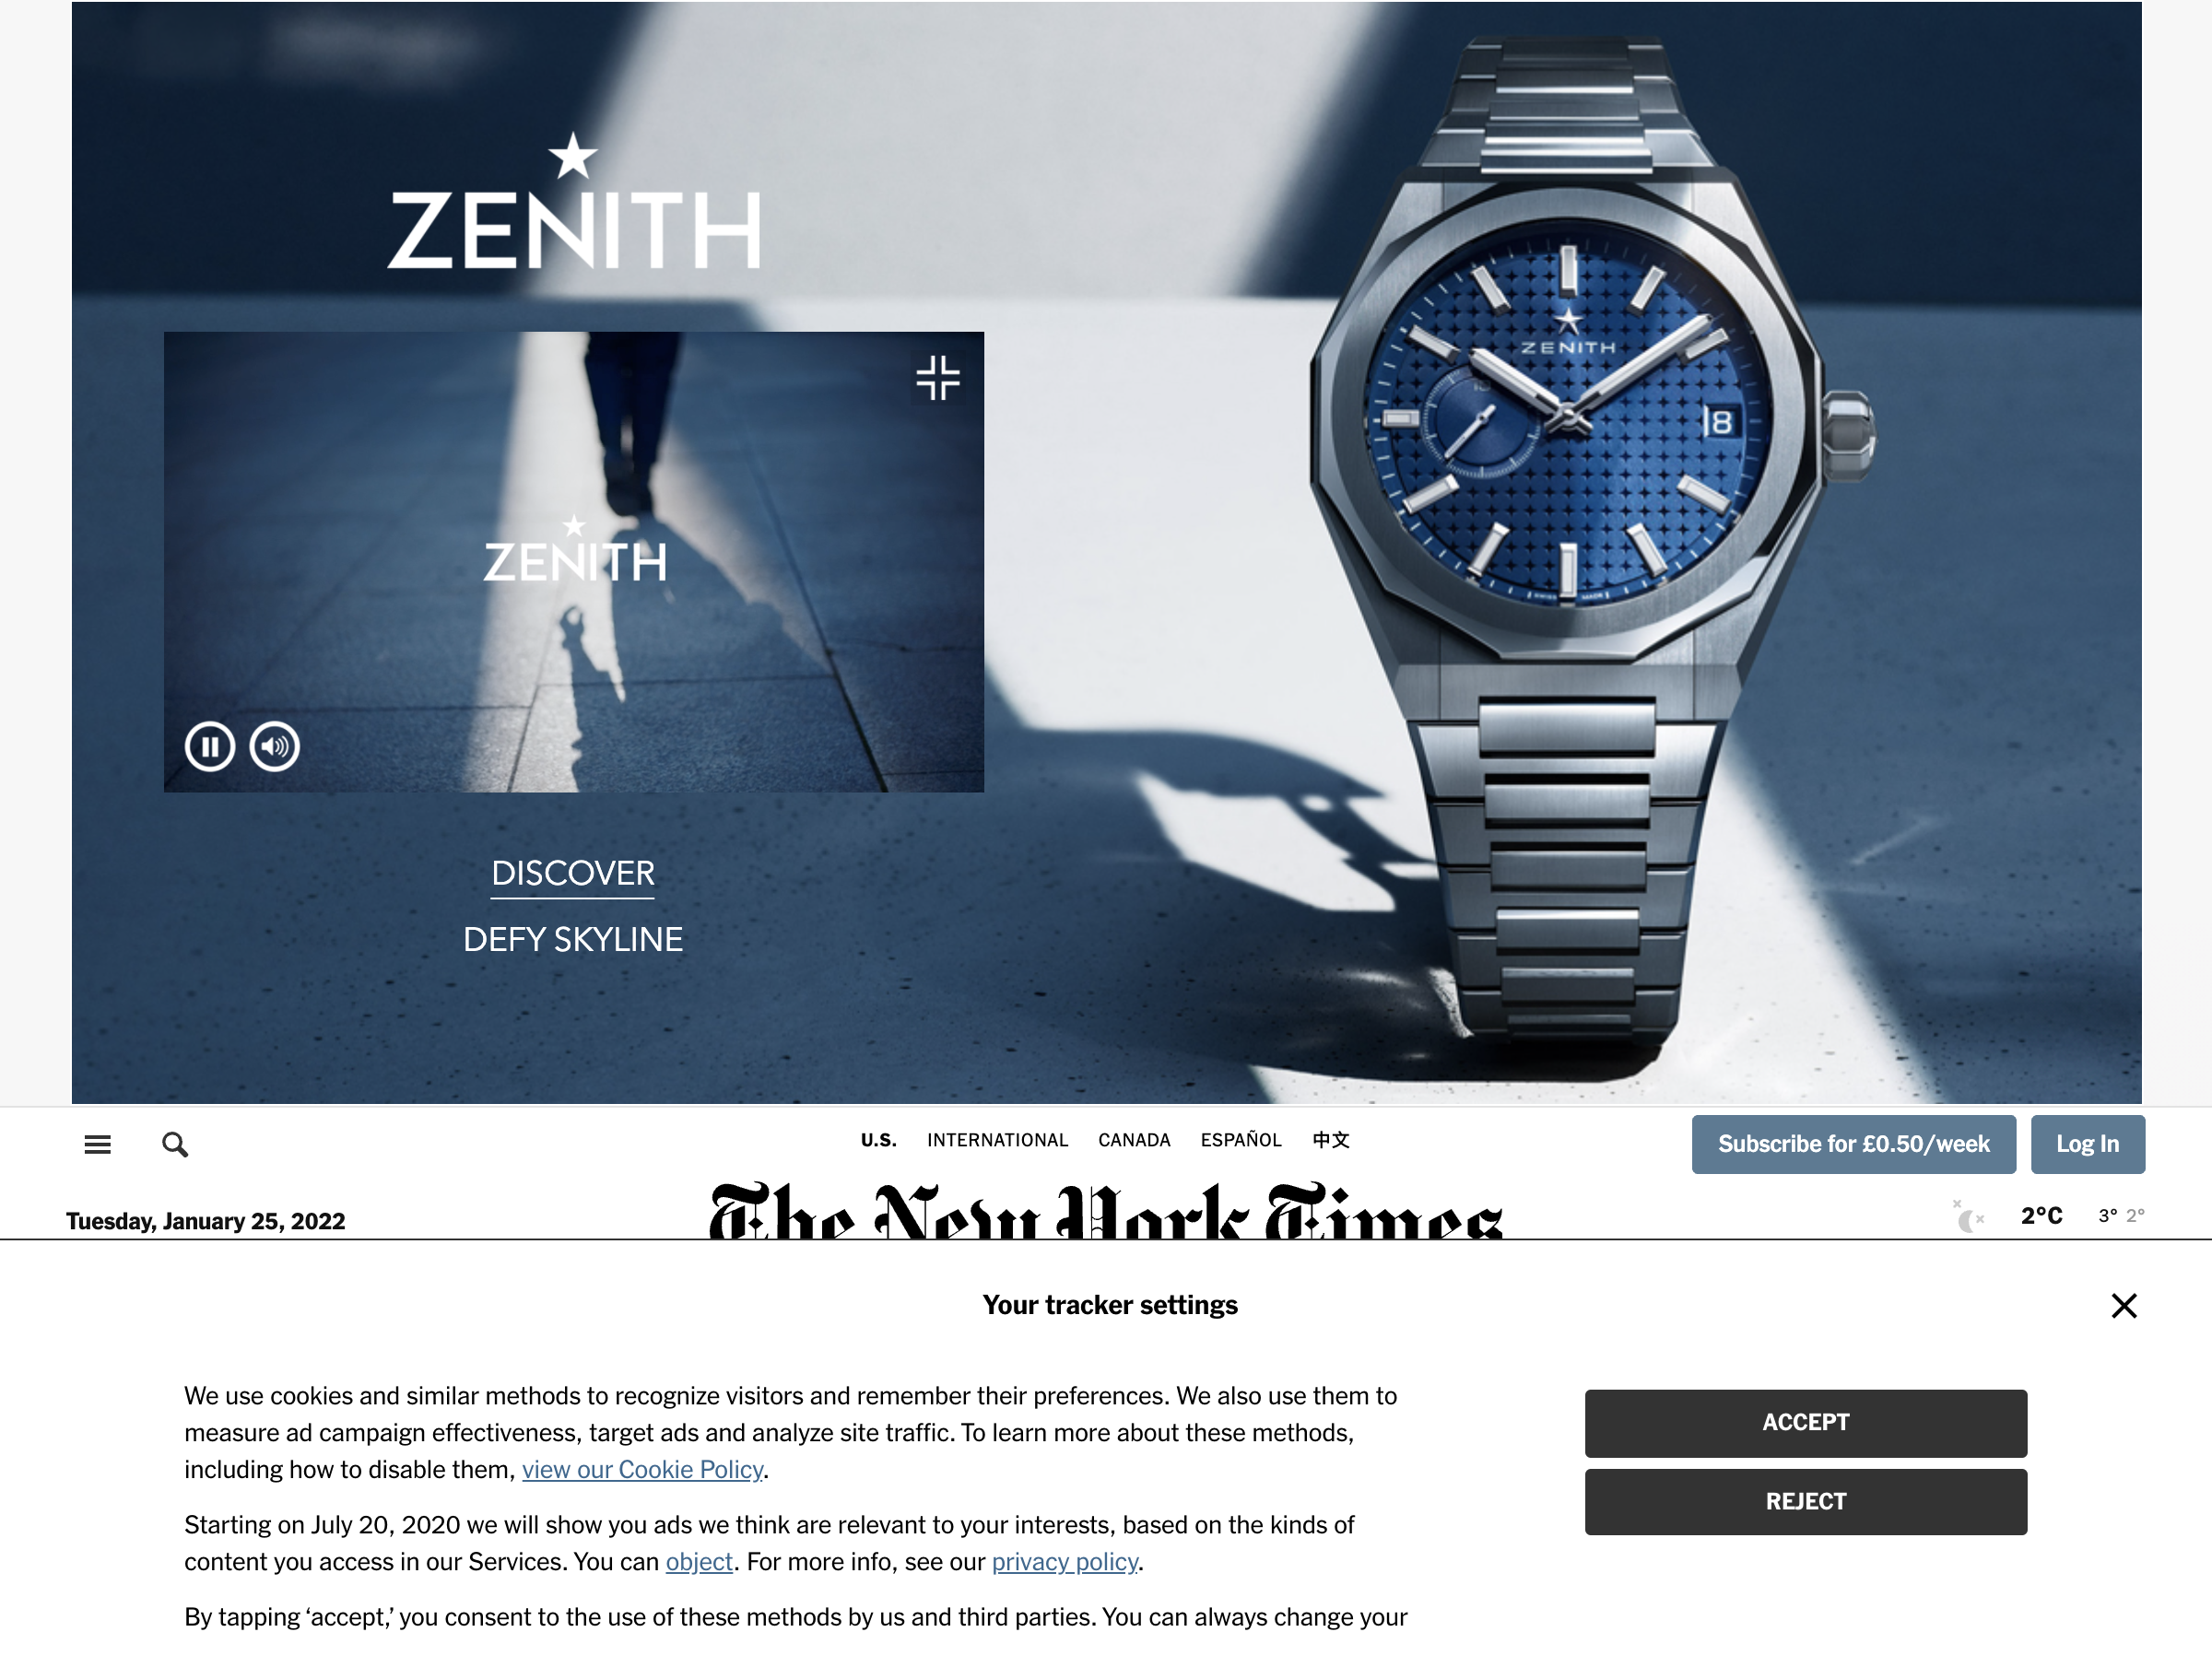
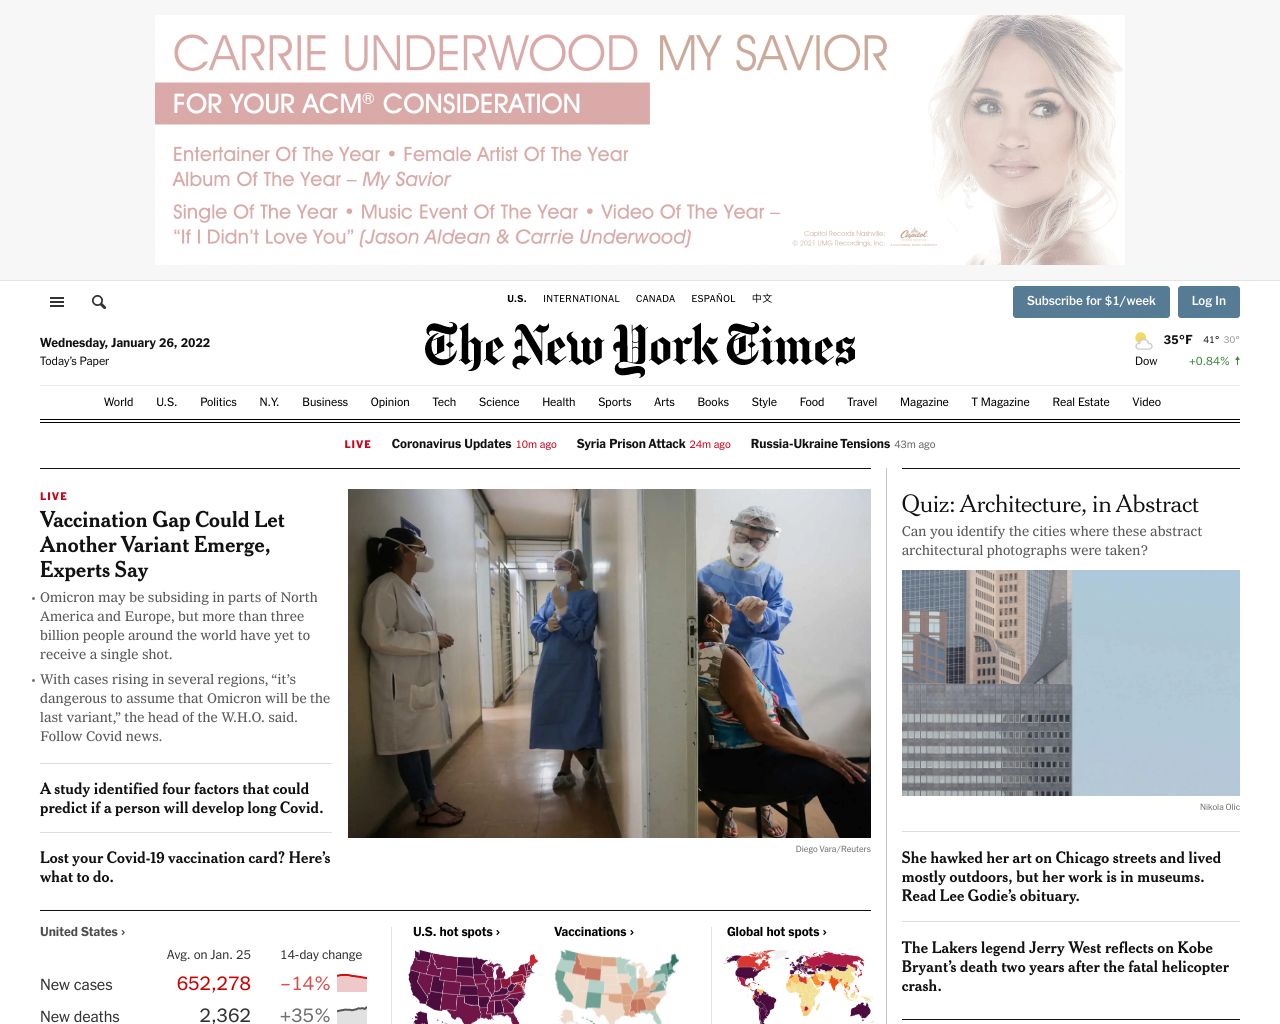
node playwright-screenshot.jsHere is the resulting screenshot:
Once again, the default out-of-the-box screenshot is obscured by ads and cookie banners.
Selenium web driver website screenshots
Selenium is a web automation toolkit that enables cross-browser automation.
For each browser we want to automate, we need to install a driver
that implements the W3C's webdriver specification. In order to drive chrome from selenium we will use the chromedriver project.
Conveniently there is an npm package which installs the chromedriver binary and makes it available to our selenium script.
We also need to install the selenium-webdriver npm package that works with
the browser-specific driver in order to automate them using a high-level API.
npm install selenium-webdriver chromedriverNow create the selenium screenshot capture script. Save the following code to selenium-screenshot.js:
const { Builder } = require("selenium-webdriver");
require("chromedriver");

let fs = require("fs");

async function takeScreenshot(url) {
  //Wait for browser to build and launch properly
  let driver = await new Builder().forBrowser("chrome").build();

  //Navigate to the url passed in
  await driver.get(url);

  //Capture the screenshot
  let image = await driver.takeScreenshot();

  await fs.writeFileSync("./nyt-selenium.png", image, "base64");
  await driver.quit();
}
takeScreenshot("https://nytimes.com");
and run the script:
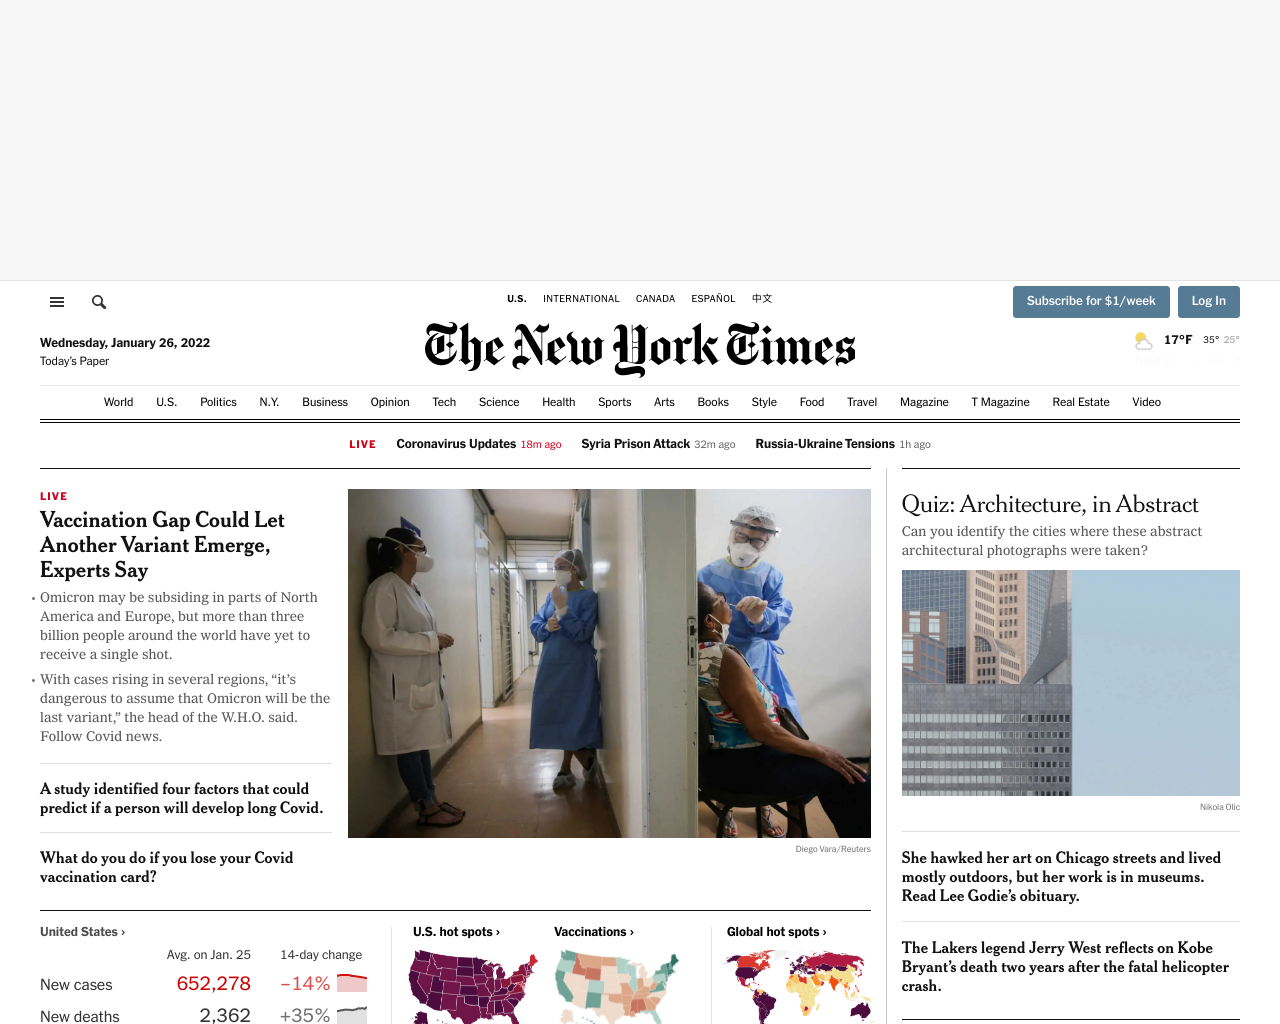
node selenium-screenshot.jsThe script boots up an instance of chrome, then navigates to the URL, takes a screenshot
and saves it to the local filesystem as nyt-selenium.png.
Here is the resulting screenshot:
Using Electron for website screenshots
Electron is well known as a platform for building cross-platform desktop apps using the holy trinity of HTML, CSS and JavaScript web technologies.
It is the foundation of several desktop apps such as VS-Code, Spotify and Microsoft Teams.
Since it uses an instance of chromium to render the app, it can also be used to automate a headless browser and even generate website screenshots.
In order to use electron, we need to install it using npm:
npm install electronNow, let's first create our main.js electron entrypoint:
const { app, BrowserWindow, ipcMain } = require("electron");
const path = require("path");
const fs = require("fs");
const screenshot = require("./screenshot");
let window;

function createWindow() {
  window = new BrowserWindow({
    width: 1280,
    height: 1024,
    webPreferences: {
      nodeIntegration: true,
      contextIsolation: false,
    },
  });
  window.loadFile("./index.html");
  window.webContents.openDevTools();
}

app.whenReady().then(createWindow);

app.on("window-all-closed", () => {
  if (process.platform !== "darwin") {
    app.quit();
  }
});

ipcMain.on("start::screenshot", (event, arg, filename) => {
  console.log("Starting");
  screenshot(arg, filename, (reply) => {
    console.log("Done", reply);
  });
});
The main.js entrypoint manages the lifecycle of an electron app.
It requires screenshot.js, which contains the necessary code
to navigate to the URL, capture the page content and convert it into PNG format:
const { BrowserWindow } = require("electron");
const fs = require("fs");
const path = require("path");
// Offscreen BrowserWindow
let offscreenWindow;
let nativeImage;
// Exported readItem function
module.exports = (url, filename, callback) => {
  // Create offscreen window
  offscreenWindow = new BrowserWindow({
    width: 1280,
    height: 1080,
    show: false,
    webPreferences: {
      offscreen: true,
    },
  });

  // Load item url
  offscreenWindow.loadURL(url);

  // Wait for content to finish loading
  offscreenWindow.webContents.on("did-stop-loading", async () => {
    // Get screenshot (thumbnail)
    nativeImage = await offscreenWindow.webContents
      .capturePage()
      .then((image) => {
        fs.writeFileSync(filename, image.toPNG(), (err) => {
          if (err) throw err;
        });
        return image.toDataURL();
      });
    let obj = { title: title, url: url, filename };
    callback(obj);
    offscreenWindow.close();
    offscreenWindow = null;
  });
};
Screenshot.js exports a function that takes a url, filename and a callback function.
This function is called from main.js and navigates to the passed in URL, then
calls capturePage() on the BrowserWindow's webContents object.
The capturePage function returns a promise that resolves to a nativeImage object, which is the
raw image data of the web page's screenshot.
The screenshot is then saved to a PNG file. The image data can also be passed back to the main process as a base64 data URL string.
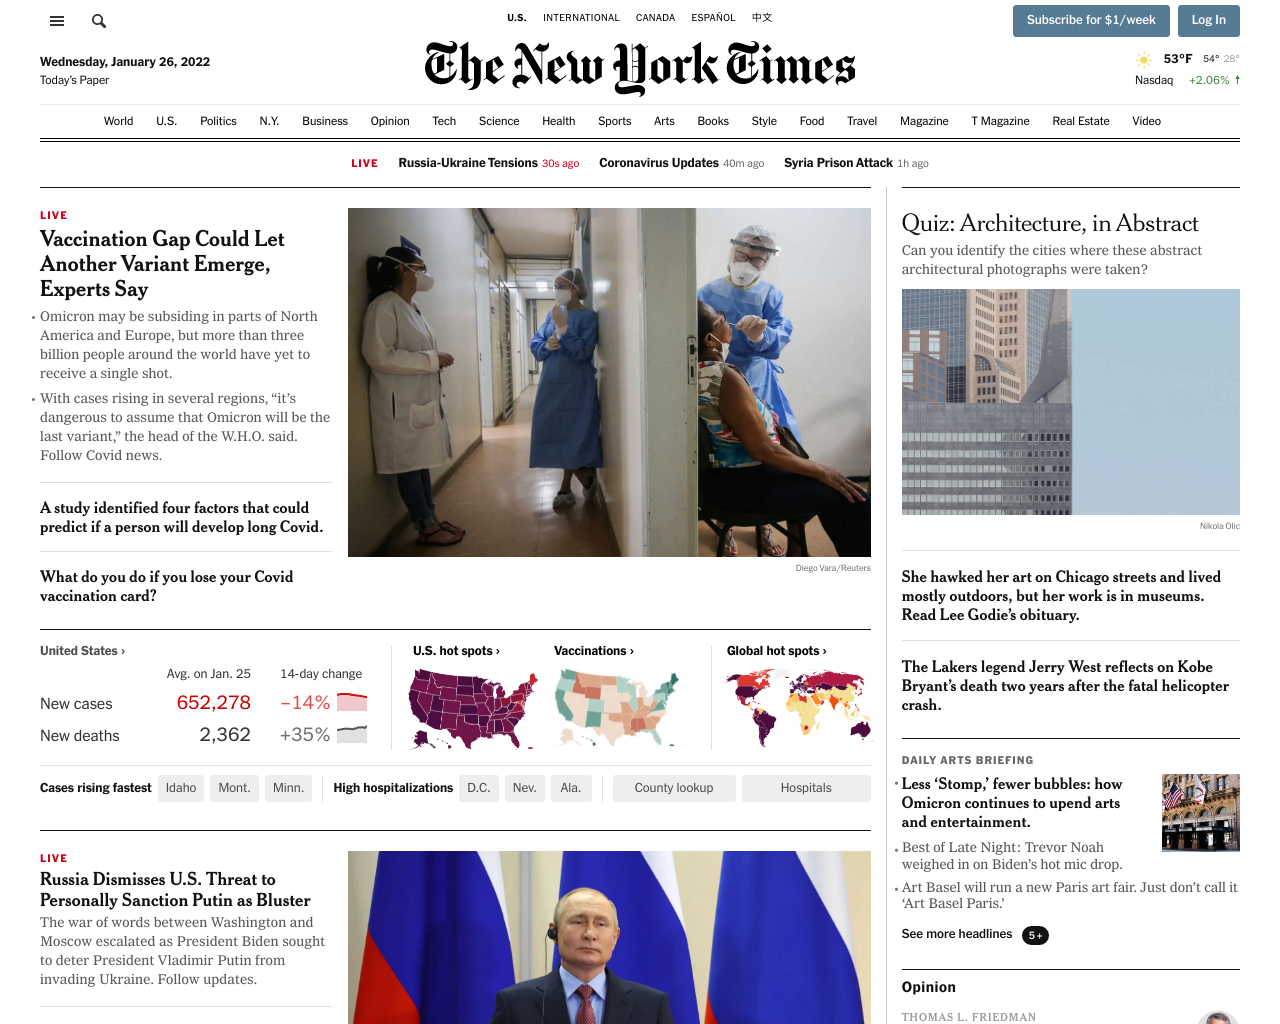
Here's the resulting screenshot:
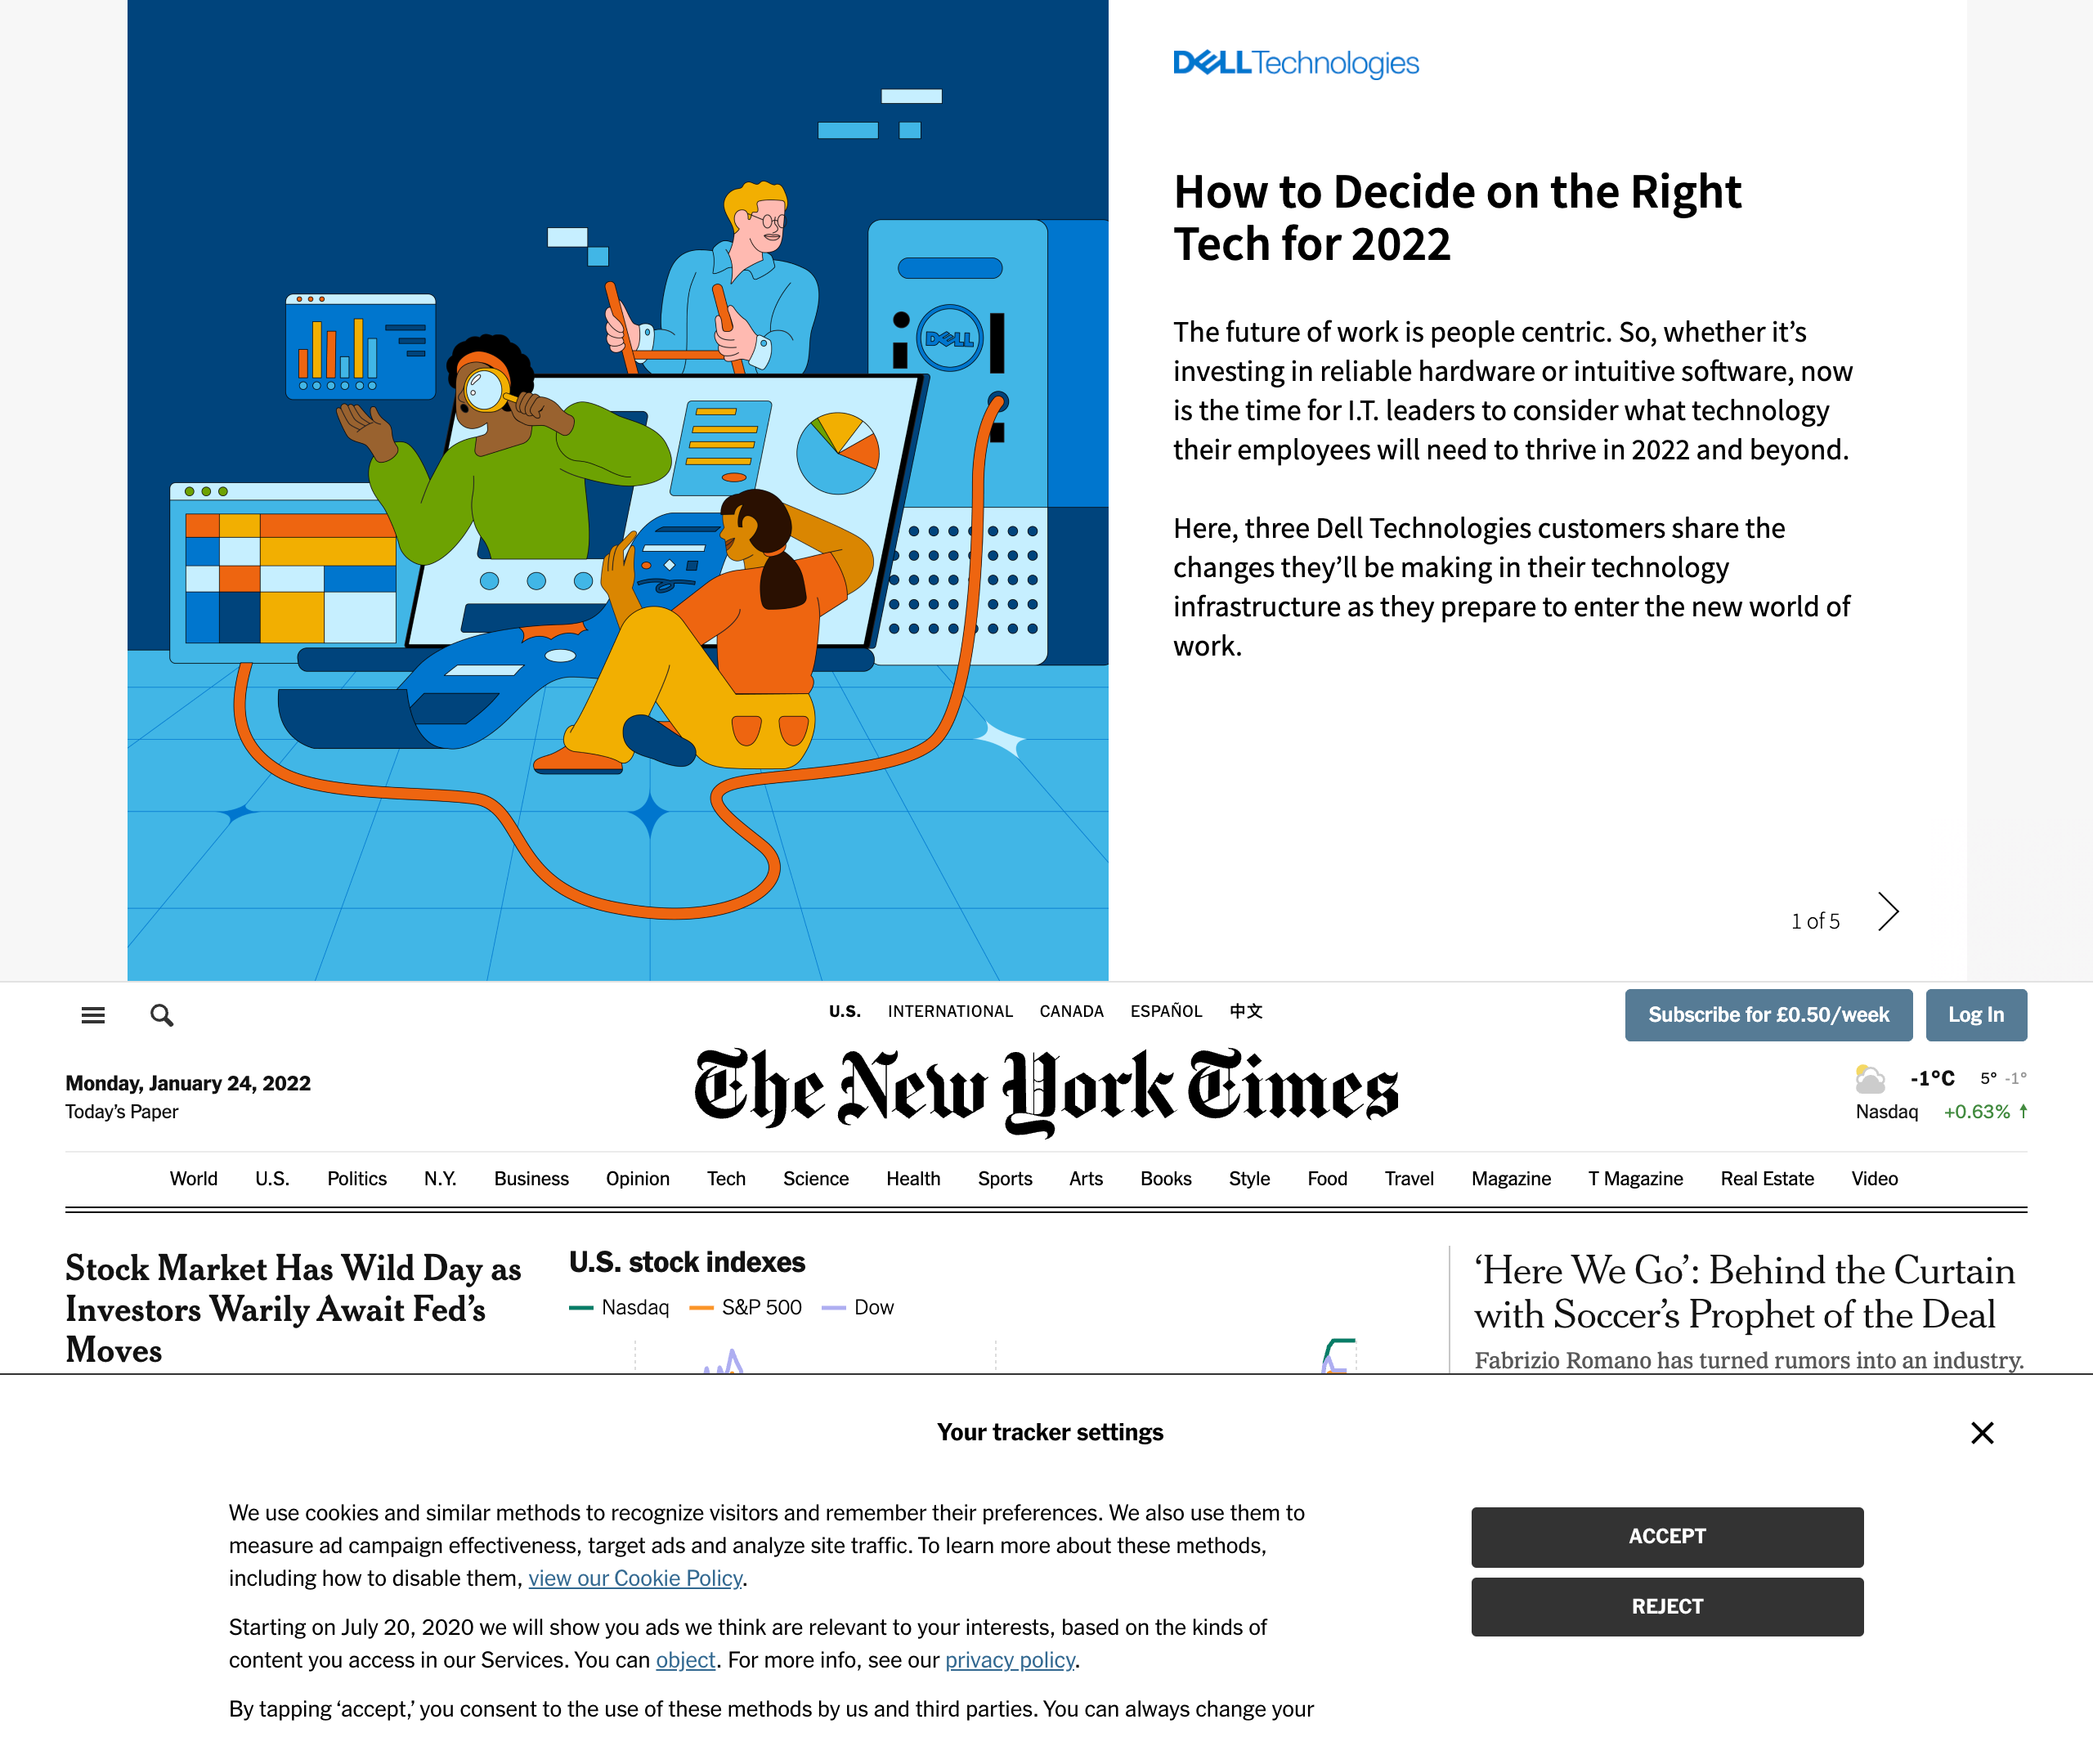
It is quite inconvenient to use electron for purely generating screenshots as it's main purpose is for writing cross-platform desktop applications.
It can sometimes be confusing which code belongs in which context. However, the next library on our list attempts to abstract electron and make it more of a web-automation tool.
Urlbox was previously using electron to generate website screenshots, before puppeteer was released. Another downside about electron is that the version of chromium it is reliant on is not updated as frequently as for puppeteer and playwright.
This means newer features are slower to support, and security vulnerabilities are more likely to remain unpatched.
URL to image with Nightmare.js
Nightmare.js is a node.js library developed by the team at segment. It is built on top of Electron, but has a higher level API which makes it easier to work with for simple tasks, such as capturing screenshots of websites.
Install nightmare via npm:
npm install nightmareNow create the file nightmare-screenshot.js that uses nightmare to render a website screenshot:
const Nightmare = require("nightmare");
const nightmare = Nightmare({ show: true, gotoTimeout: 10000 });

nightmare
  .goto("https://nytimes.com")
  .screenshot("nyt-nightmare.png")
  .end()
  .then(console.log)
  .catch((error) => {
    console.error("screenshot failed:", error);
  });
Run the script:
node nightmare-screenshot.jsYou should see the browser open and load the nytimes.com page.
Unfortunately, when I tried running this script, the nytimes.com site initially loaded, but then disappeared, and I was left with a blank screenshot.
When checking the devtools console, I could see a couple of JavaScript errors:
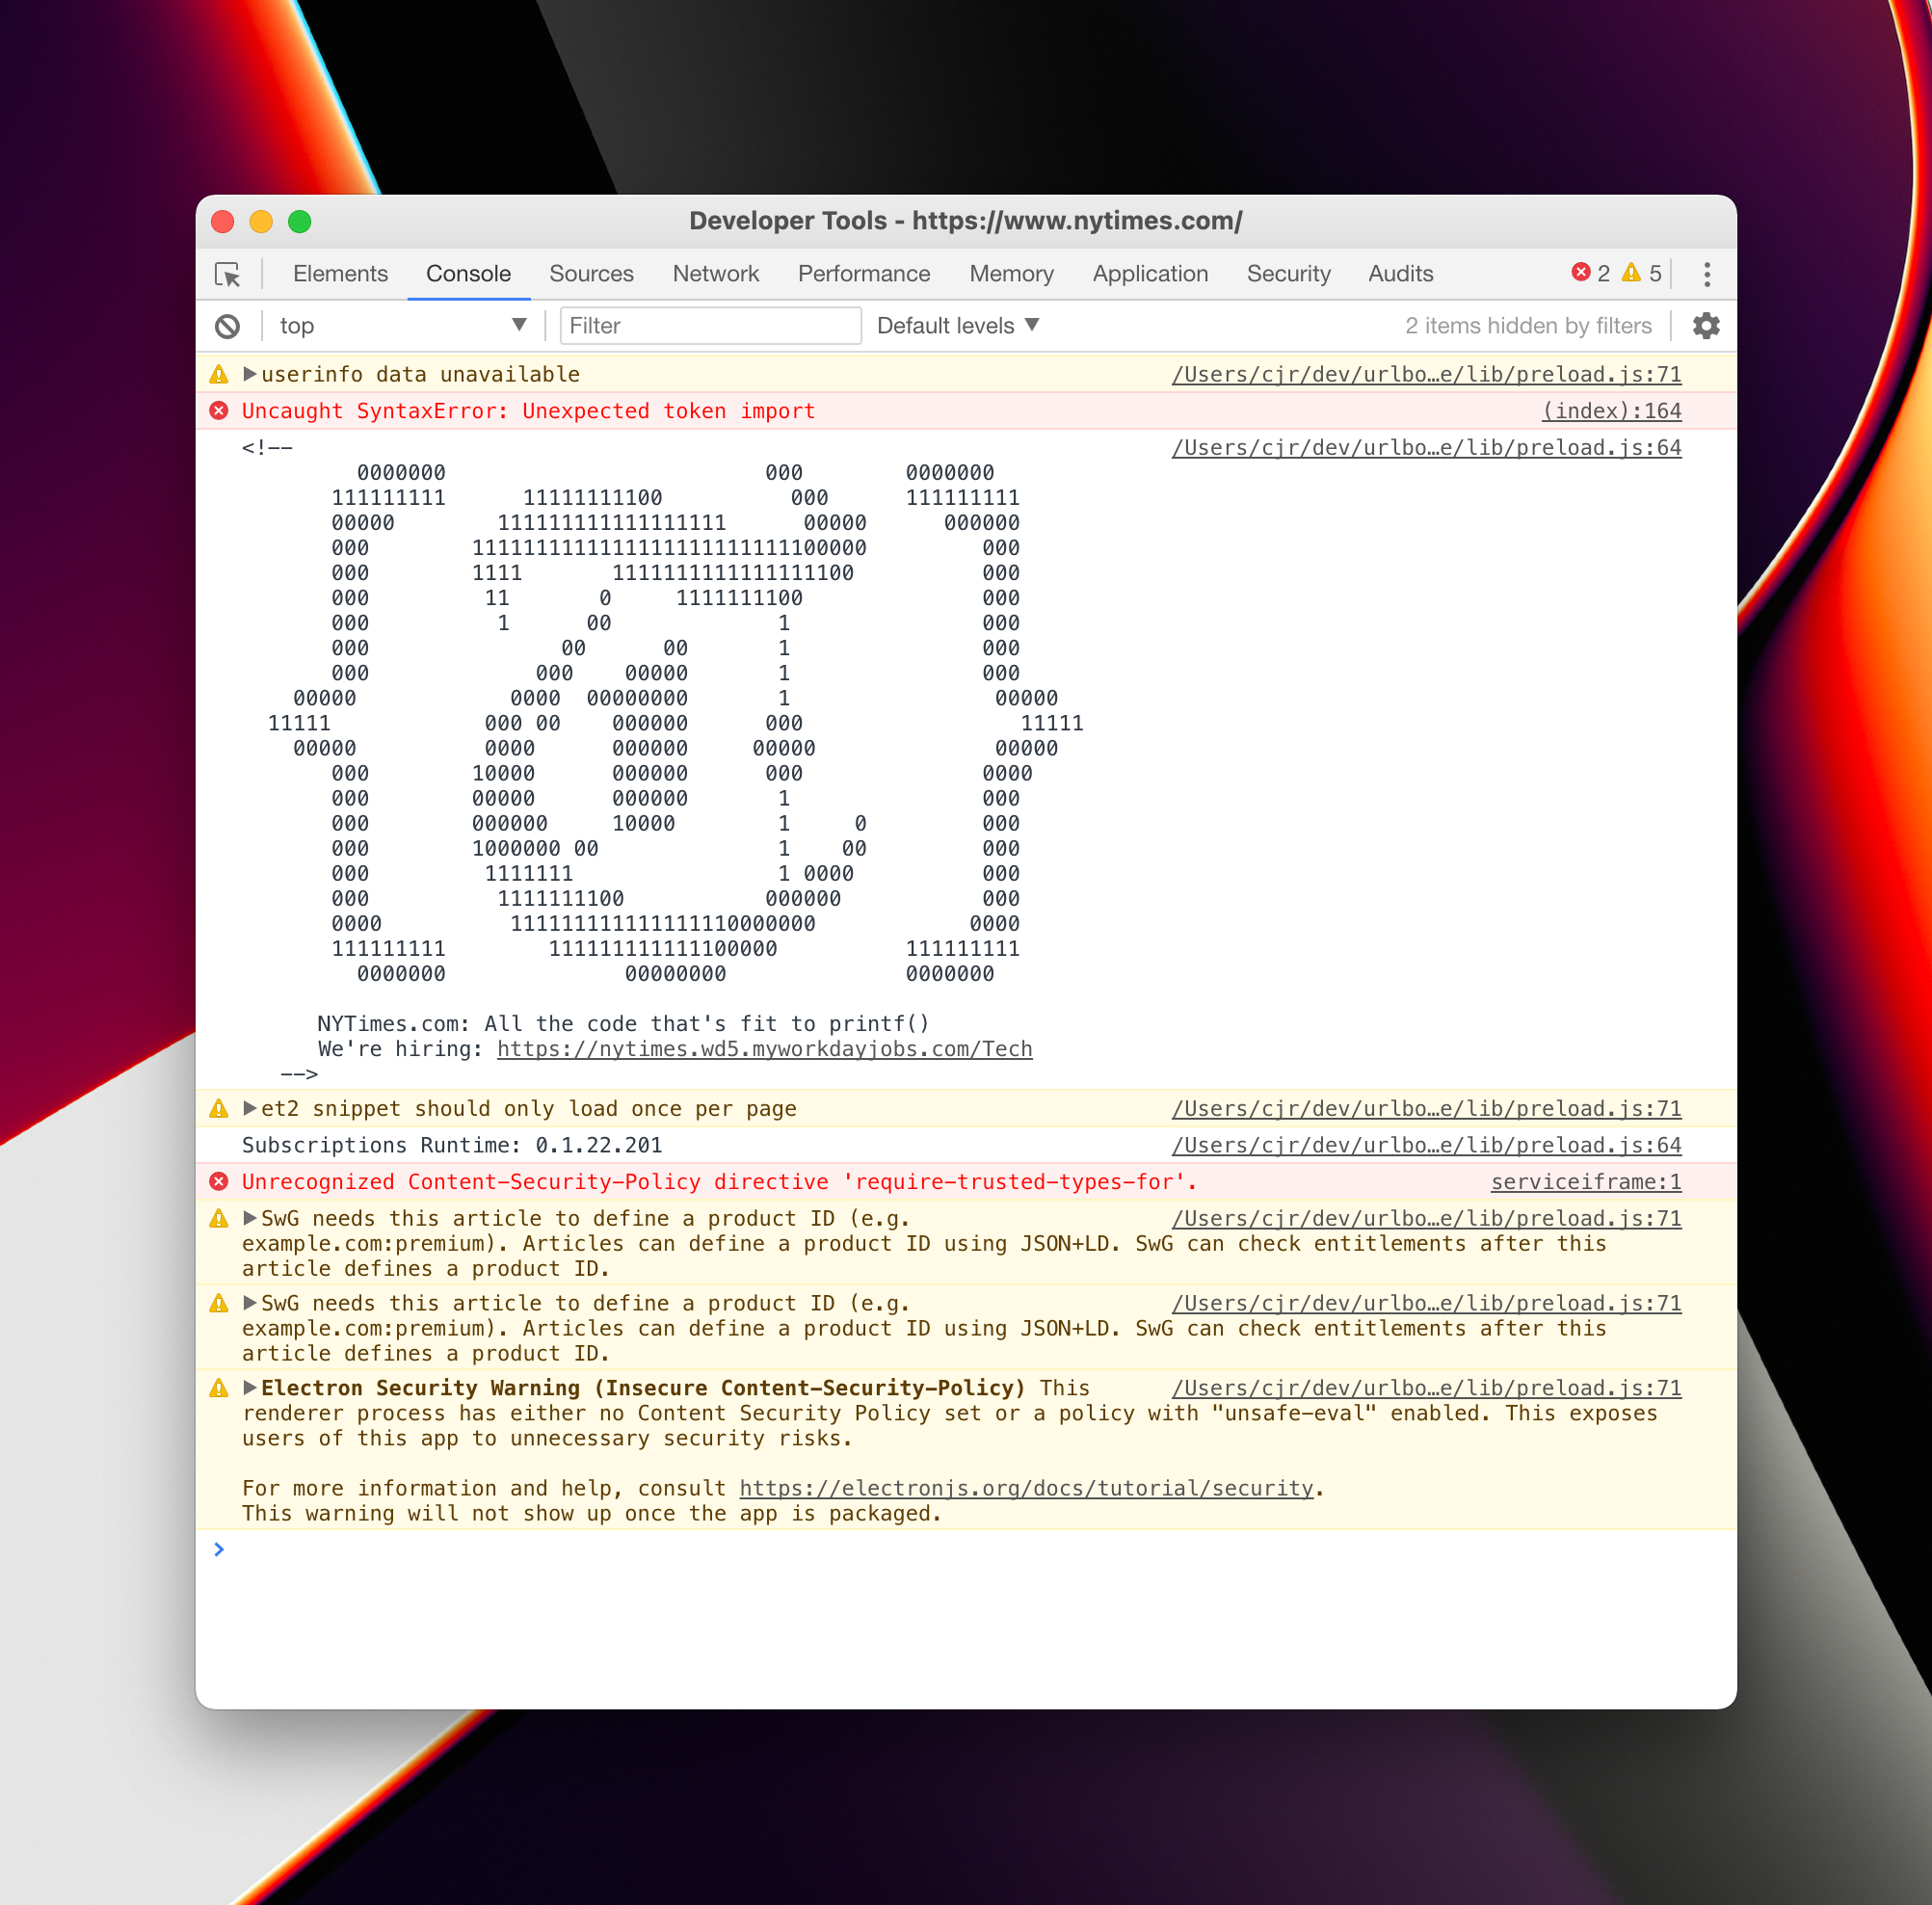
I assume that nightmare is using an old version of electron which in turn is using an out of date version of chromium that fails to load the nytimes.com site fully.
Let's try again with a different url:
const Nightmare = require("nightmare");
const nightmare = Nightmare({ show: true, gotoTimeout: 10000 });

nightmare
  .goto("https://bbc.com")
  .screenshot("bbc-nightmare.png")
  .end()
  .then(console.log)
  .catch((error) => {
    console.error("screenshot failed:", error);
  });
Running this script I was also having trouble, this time nightmare was emitting navigation error:
screenshot failed: Error: navigation error
    at unserializeError (/node_modules/nightmare/lib/ipc.js:162:13)
    at EventEmitter.<anonymous> (/node_modules/nightmare/lib/ipc.js:89:13)
    at Object.onceWrapper (node:events:510:26)
    at EventEmitter.emit (node:events:390:28)
    at ChildProcess.<anonymous> (/node_modules/nightmare/lib/ipc.js:49:10)
    at ChildProcess.emit (node:events:390:28)
    at emit (node:internal/child_process:917:12)
    at processTicksAndRejections (node:internal/process/task_queues:84:21) {
  code: -3,
  url: 'https://www.bbc.com/'
}
Looking at the github repo for nightmare, it looks like the last commit was in 2019.
If you're using nightmare to render website screenshots, I would encourage you to move to either puppeteer or playwright, in order to automate the most recent browsers. Of course, you can also try urlbox's screenshot API out too if you don't want the hassle of maintaining your own microservice.
Website screenshots with Phantom.js
Phantom.js was the original headless web browser that could be automated with JavaScript.
It uses QtWebkit as the rendering engine.
Development on the project has been suspended and it is recommended to upgrade any microservice that uses phantom.js to either puppeteer or playwright.
Let's see if the nytimes.com screenshot can be generated with phantom.js:
First we need to install phantom.js:
npm install phantomjs-prebuiltSince phantomjs is a standalone binary and not a node specific package, it cannot be run directly from node. Instead you either run the binary directly, or use node's child process API's to spawn a new process and run phantomjs that way.
For ease of use, we will run the phantomjs binary directly. We just need to pass it a script to run. Here is our phantom.js script:
var page = require("webpage").create();
page.open("http://nytimes.com/", function () {
  page.viewportSize = { width: 1280, height: 1024 };
  page.clipRect = { top: 0, left: 0, width: 1280, height: 1024 };
  page.render("nyt-phantom.png");
  phantom.exit();
});
By default, phantom.js will try to take a full page screenshot, whereas we just want the visible viewport portion of the page.
This is why we've explicitly defined the page's viewportSize and clipRect properties in the above script.
Save the above code to a file called phantom-screenshot.js and run it:
./node_modules/phantomjs-prebuilt/bin/phantomjs phantom-screenshot.jsIt should capture the screenshot to the file nyt-phantom.png:
It seems like we've been able to successfully generate a screenshot of nytimes.com with phantom.js.
It looks asthough the version of nytimes.com that we have rendered is one with no javascript enabled, and therefore no ads or cookie banners!
This must be because it detected the QTWebkit-based phantomjs browser as being out of date, and chose to serve us a simplified version of their page.
Urlbox website screenshot API
Urlbox is a screenshot API that can be used to generate website screenshots and PDFs from URLs. It is built on top of puppeteer and there is an npm package for taking screenshots available for node.js.
You may want to try out urlbox if you are getting frustrated spending a lot of time maintaining your own screenshot or URL to PDF rendering microservice. There is a 7-day free trial and prices start at $19 per month.
We render millions of screenshots and PDFs every month and handle 100's of headless chrome instances in parallel at scale. There are plenty of options to allow you to render full page screenshots, hide cookie banners and block ads from screenshots or use a proxy to prevent being blocked by sites.
The documentation for the API can be found at urlbox.io/docs.
First let's install the urlbox package from npm.
So that we can download the screenshot from urlbox we will also install the http request library, got:
npm install urlbox gotTo authenticate with the Urlbox API, we'll need to signup and retrieve our API key and secret, then pass them to the urlbox package:
const got = require("got");
const fs = require("fs");
const Urlbox = require("urlbox");
const urlbox = Urlbox(YOUR_API_KEY, YOUR_API_SECRET_KEY);

// generate the https://api.urlbox.io/v1/key/png?url=... url
const imgUrl = urlbox.generateRenderLink({ url: "nytimes.com" });

// request the urlbox url and save the response to nyt-urlbox.png
got(imgUrl)
  .buffer()
  .then((response) => {
    fs.writeFileSync("nyt-urlbox.png", response, "binary");
  });
Let's run this script and wait for the screenshot to be downloaded:
node urlbox-screenshot.jsHere is the resulting screenshot, nyt-urlbox.png:
Immediately we can see that the ad is showing at the top.
In order to get rid of this we can enable the ad-blocker by passing in the block_ads option to urlbox:
const got = require("got");
const fs = require("fs");
const Urlbox = require("urlbox");
const urlbox = Urlbox(YOUR_API_KEY, YOUR_API_SECRET_KEY);

const imgUrl = urlbox.generateRenderLink({
  url: "nytimes.com",
  block_ads: true,
});

got(imgUrl)
  .buffer()
  .then((response) => {
    fs.writeFileSync("nyt-urlbox-noads.png", response, "binary");
  });
Running the script with the block_ads option set to true should result in a screenshot without the ad showing:
We can see that the ad is no longer loading, as it is now being blocked by Urlbox, but the container is still showing which is taking up a significant portion of our screenshot with blank space.
In order to get rid of this we can tell urlbox to scroll down to the first element below the ad.
We can pass in the scroll_to option with a value of #app > div:nth-child(2).
This tells urlbox to scroll to the second div in the page underneath the #app div before taking a screenshot, effectively
scrolling the top ad container out of view.
const got = require("got");
const fs = require("fs");
const Urlbox = require("urlbox");
const urlbox = Urlbox("NFNjOcVieiP3dXx5", "7d85bd59e48f49e0b50029e1797cf1a8");

const imgUrl = urlbox.generateRenderLink({
  url: "nytimes.com",
  block_ads: true,
  scroll_to: "#app > div:nth-child(2)",
});
got(imgUrl)
  .buffer()
  .then((response) => {
    fs.writeFileSync("nyt-urlbox-noads-scrolled.png", response, "binary");
  });
Now if we inspect the resulting screenshot, we see the ad container is no longer showing:
This just demonstrates how easy it is to get the perfect screenshot using the urlbox API and it's many options.
Conclusion
In this article we have seen how to generate website screenshots in node.js using a variety of different tools.
We would recommend using puppeteer or playwright to capture website screenshots as they are both well supported and give you the ability to use the most recent browsers.
Electron could be used but it is primarily a development platform for building cross-platform desktop applications and so using it to take screenshots can feel quite clunky and is not a primary use-case.
Nightmare.js and Phantom.js are no longer being maintained and therefore not recommended.
If you want to quickly add website screenshots or PDFs to your project without all the hassle of maintaining your own screenshot service, and having to deal with all of the edge-cases that go along with that, we recommend using a screenshot API such as urlbox.
Perhaps you already spend many frustrated hours maintaining a screenshot microservice that is constantly breaking - running out of memory, or generating inaccurate screenshots? This is where urlbox can help, so start capturing website screenshots with ease today.
With Urlbox you can:
Discover the power of the Urlbox in our API docs.
